DIY Easter Garlands – Easy & Fun Craft Ideas for Spring
Want to add some handmade Easter decorations to your space? Whether you’re hosting an Easter egg hunt, crafting with your kids or just sprucing up your living room for spring, DIY Easter garlands are the way to go!
These items affordable however they can also give an individual accent to your décor. Plus they’re easy for beginners and fun for seasoned crafters. Below we’ll show you two gorgeous garland ideas—each with step by step instructions you can follow.
Why Handmade Easter Decor?
DIY Easter garlands are creativity, family time and love for seasonal decor. Here’s why you should try:
🧺 Budget friendly – Use materials you already have at home.
🌷 Customizable – Design to your taste, colors and style.
🐣 Fun for all ages – Great for kids, parents and community projects like classroom crafts or event decor.
And the best part? These garlands will make your Easter celebrations feel truly unique!
🐰Garland 1: DIY Easter Bunny Garland
Add some whimsy to your home with this pastel bunny garland, complete with fluffy tails. For mantels, walls, a kid’s bedroom or even a classroom. This is what you must be aware of to ensure it happens.
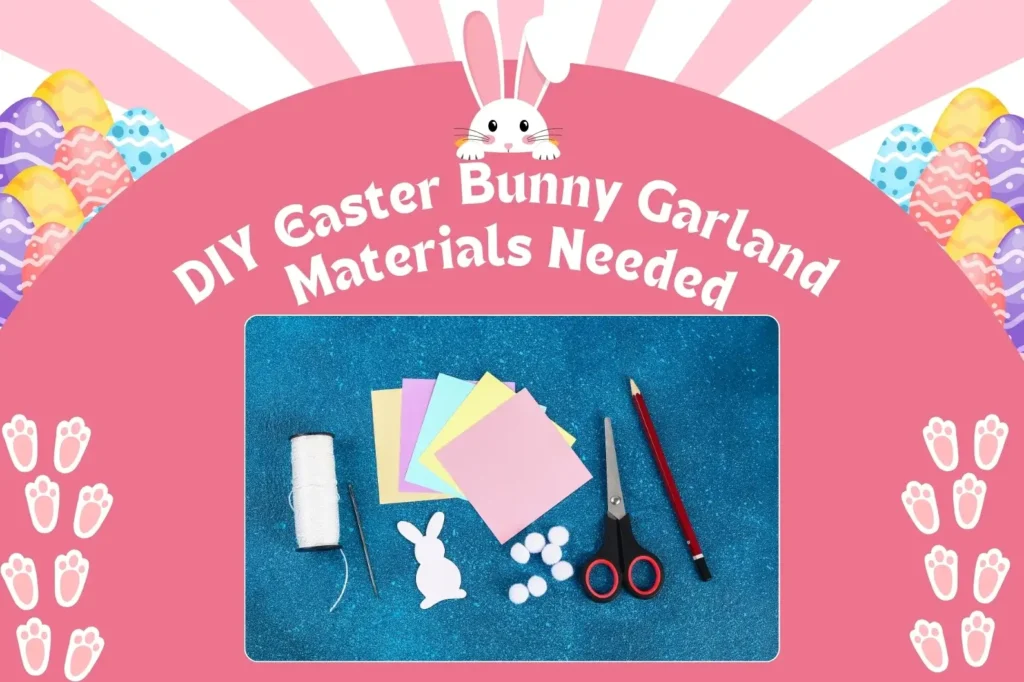
🧺 Materials Needed:
Pastel-colored paper
Pencil
Bunny template or stencil
Scissors
Cotton balls or mini pom-poms
Glue
Needle & thread or hole punch & string
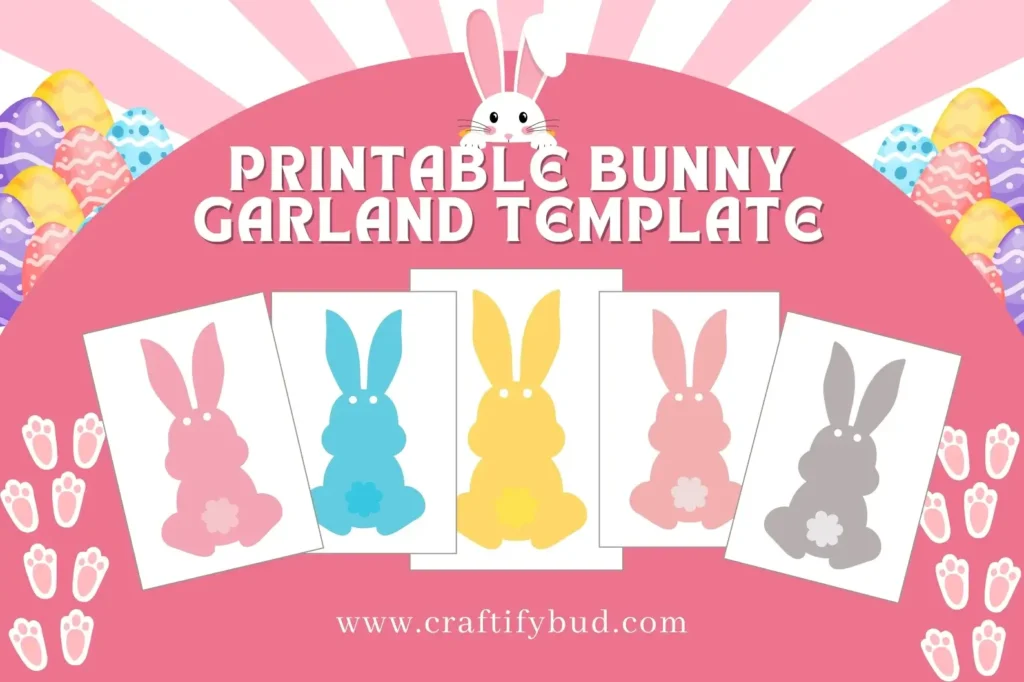
(Can’t draw your bunnies? Check out our Printable Bunny Garland Template [SVG + PDF] for easy tracing!)
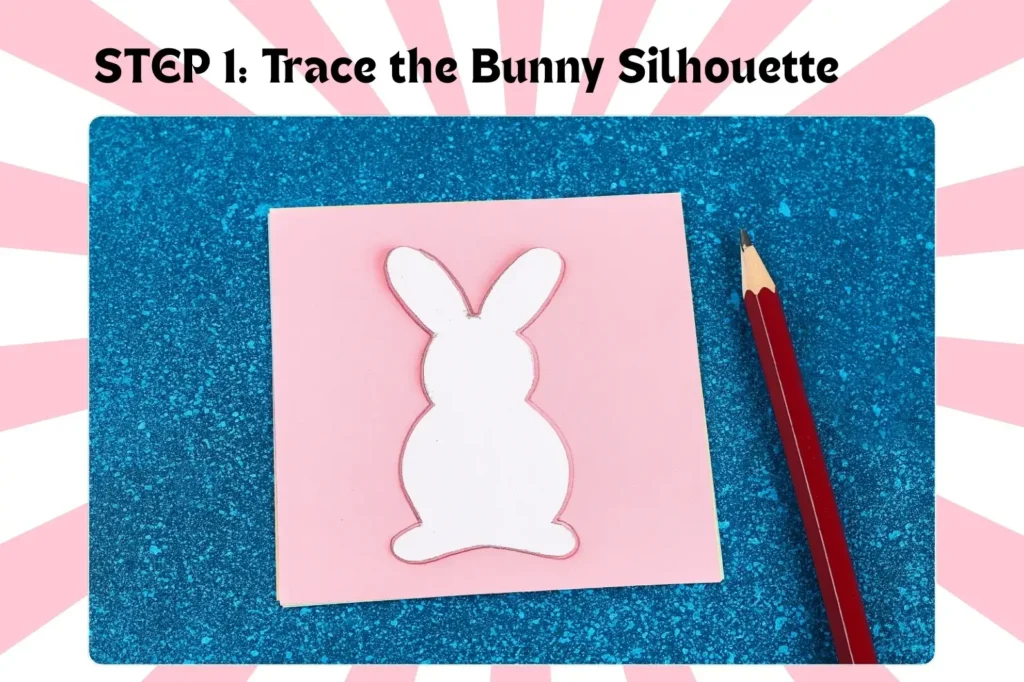
Trace the Bunny Silhouette: Using a pencil and bunny stencil/template, trace bunny shapes onto pastel-colored paper.
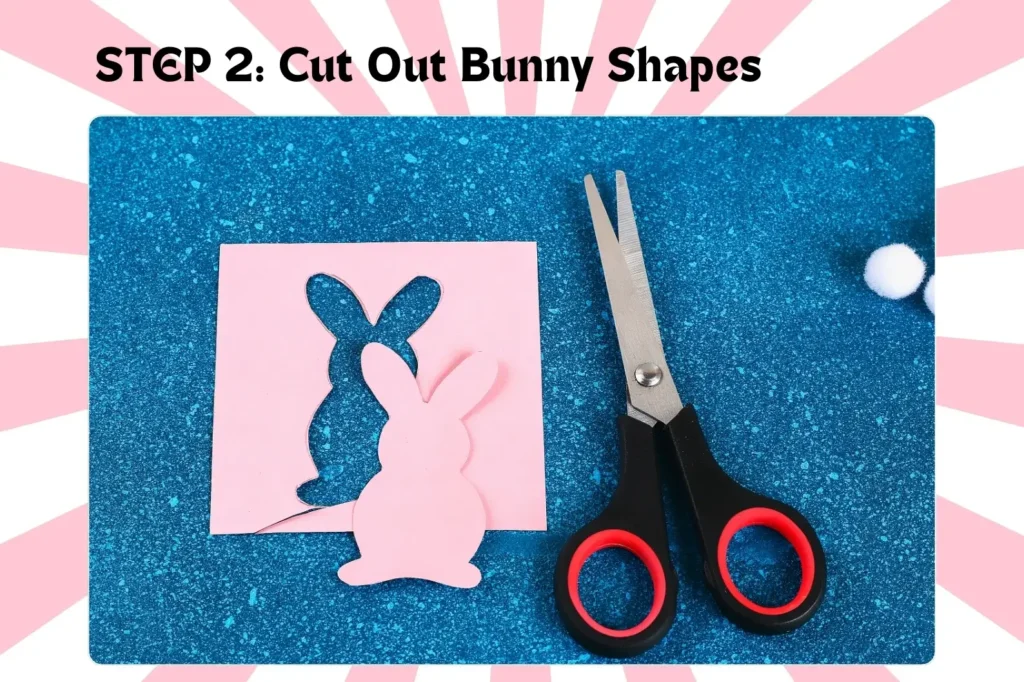
Step 2:
Cut Out Bunny Shapes: Carefully cut along the lines. Repeat in various pastel shades for a cheery, colorful vibe.
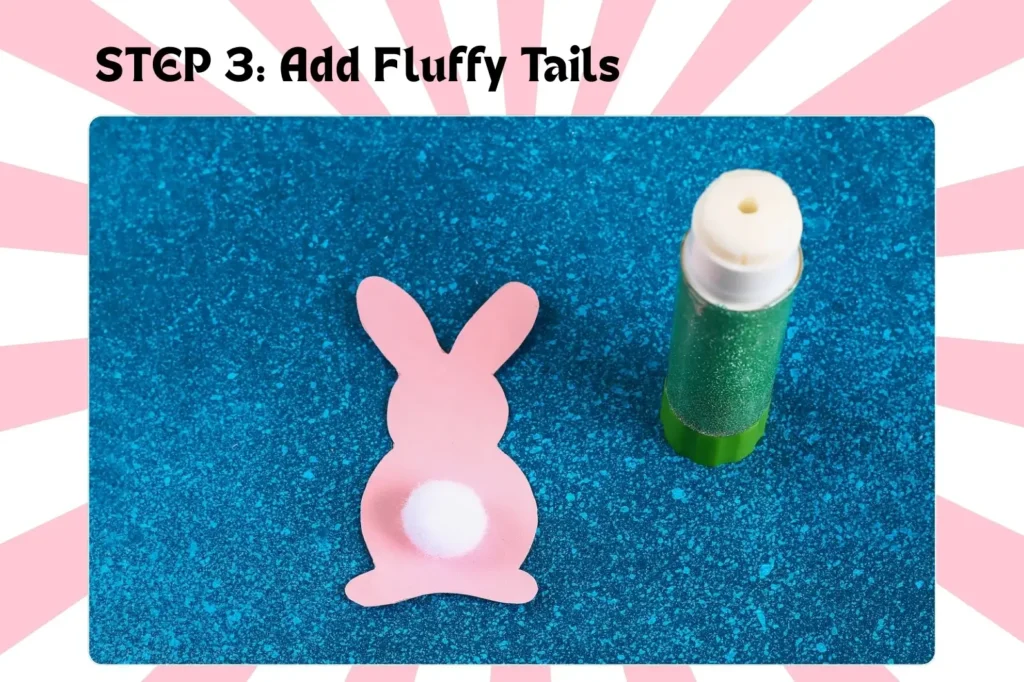
Step 3:
Add Fluffy Tails: Glue a cotton ball or mini pom-pom onto each bunny as a fun, fluffy tail.
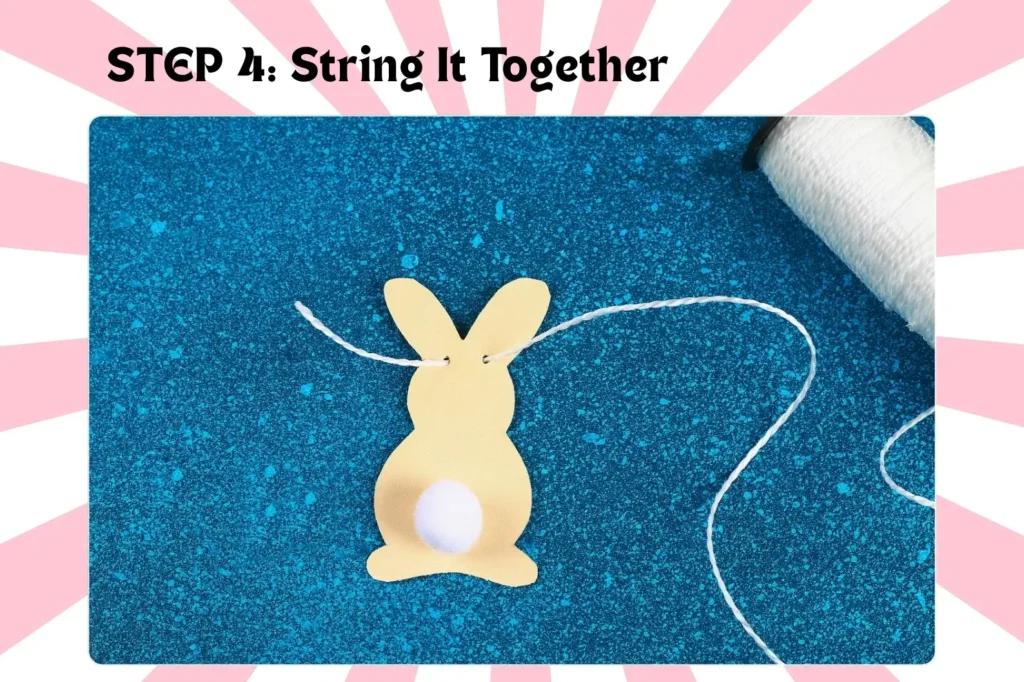
Step 4:
String It Together: Use a needle to thread through the top of each bunny, or punch holes near the ears and string them through.
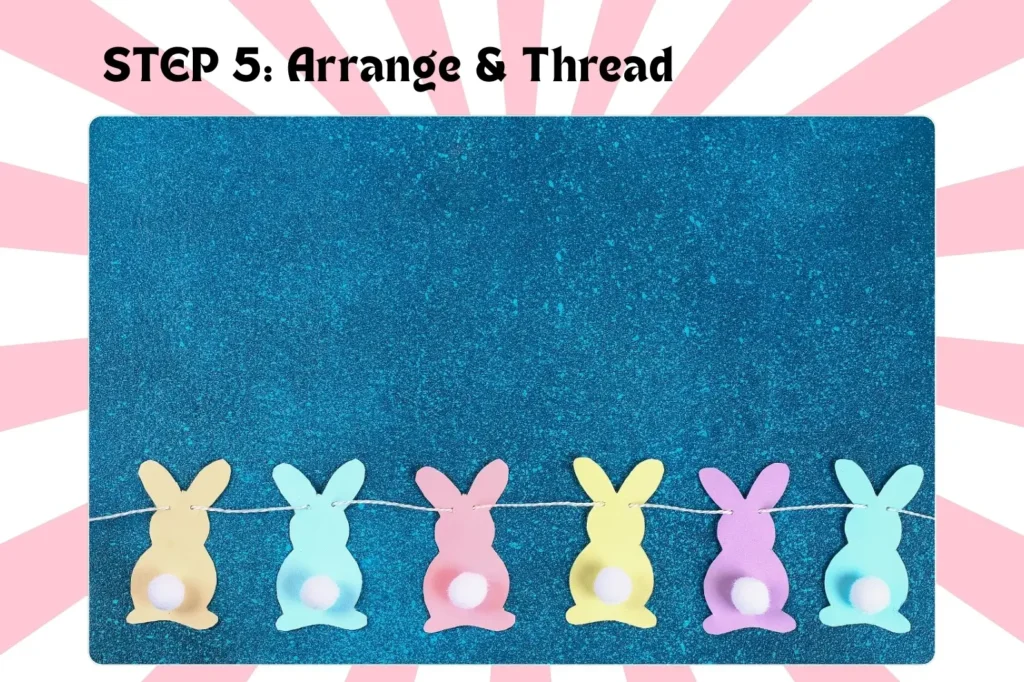
Step 5:
Arrange & Thread: Lay out your bunnies in your preferred color order, then thread them onto string or twine.
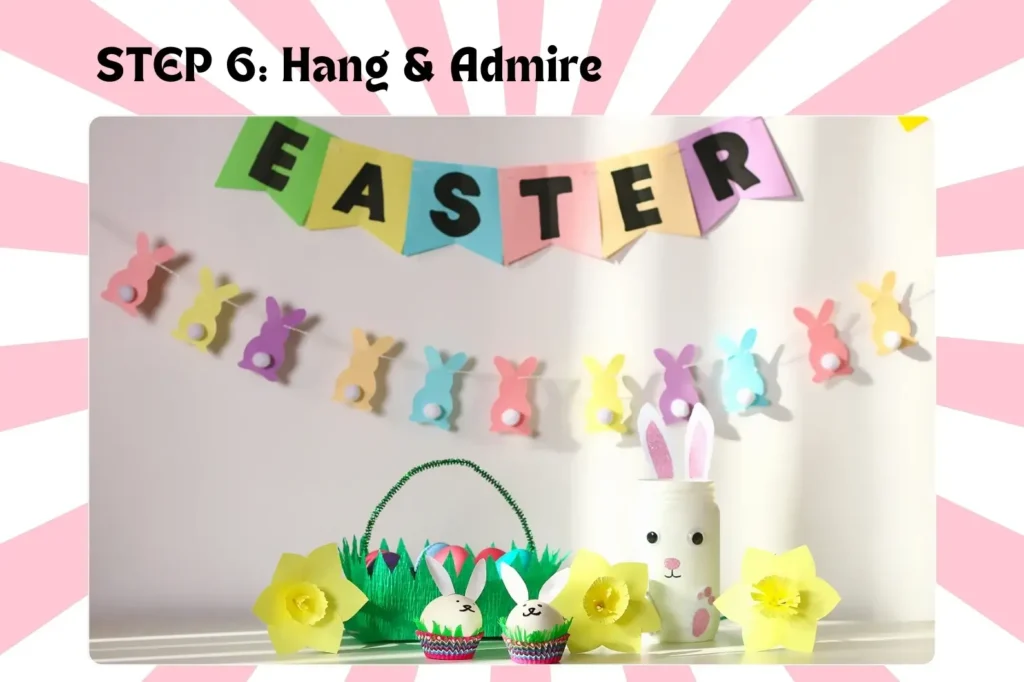
Step 6:
Hang & Admire: Hang your garland on your mantel, window, or wall for an extra pop of Easter charm!
🎁 Pro Tip:
Pair this garland with an Easter Bunny Garland Craft Kit for a family-friendly activity. Think precut bunnies, pom-poms, and string—all included!
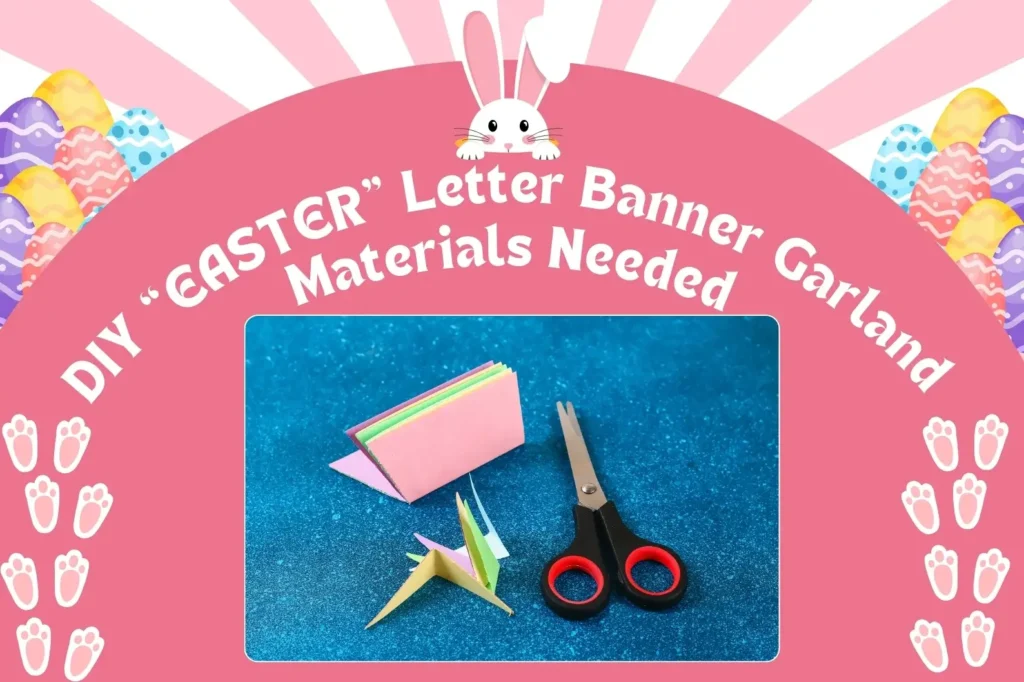
Garland 2: DIY “EASTER” Letter Banner Garland
For those who like bold and bright and simple designs, this letter banner is perfect for any Easter celebration! Here’s what you need to know to make it happen.
🧺 Materials Needed:
Colored paper (preferably pastel tones for a spring theme)
Pencil
Scissors
Black marker or printed letter cutouts
Hole punch
Twine or string
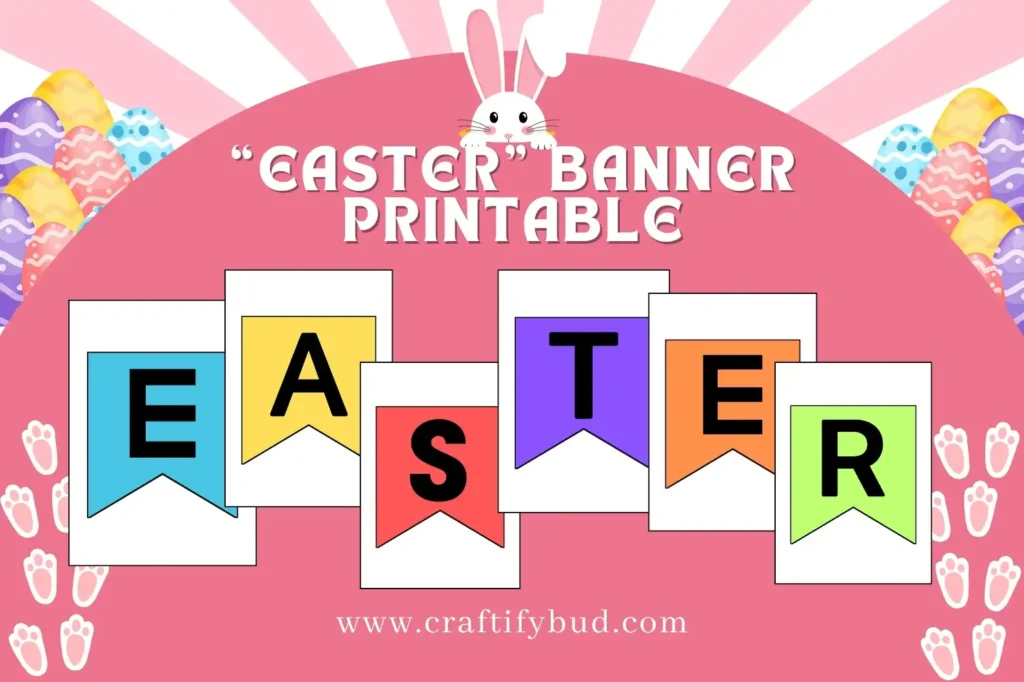
(Want a quick start? Check out our “EASTER” Banner Printable and cut your letters in minutes!)
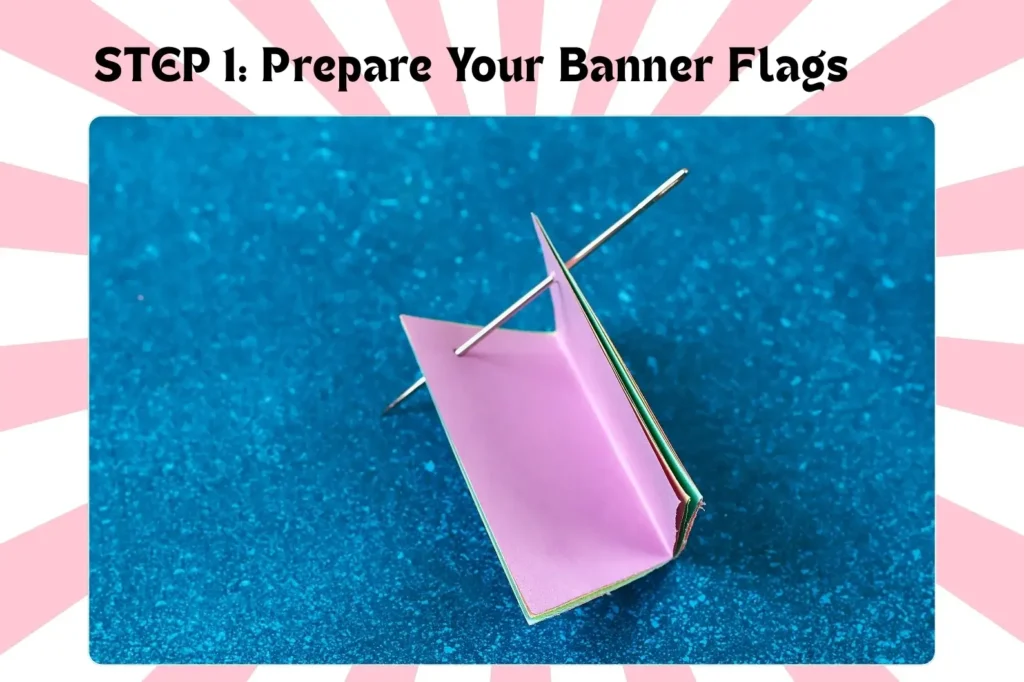
Prepare Your Banner Flags:After that, fold the flags.
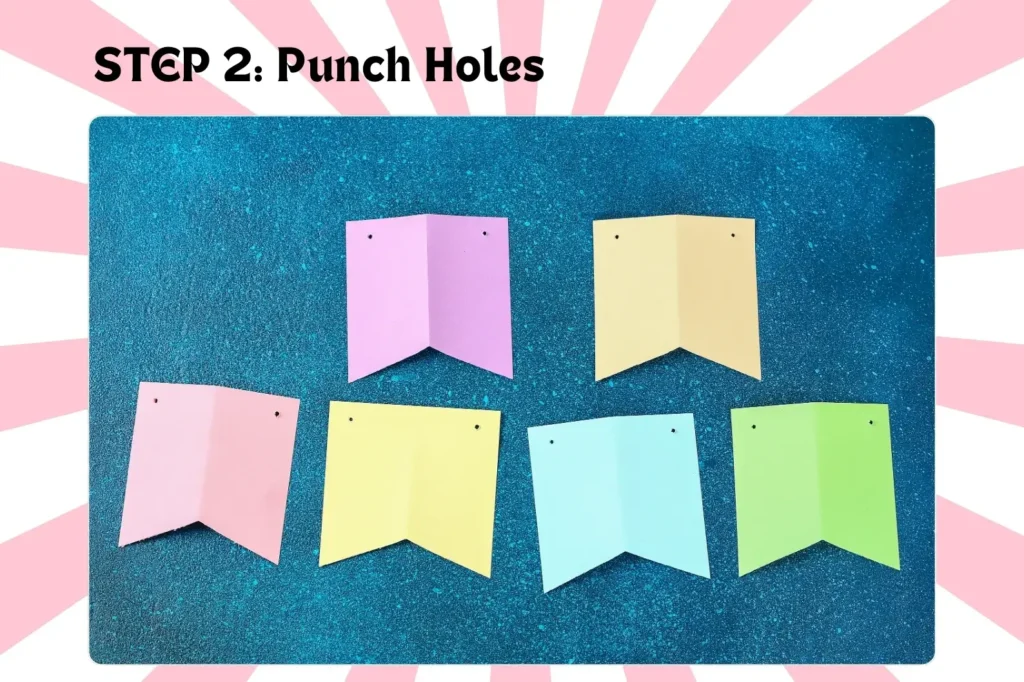
Step 2:
Punch Holes: Utilize a hole punch to punch two holes on the uppermost point of each flag, to allow threading.
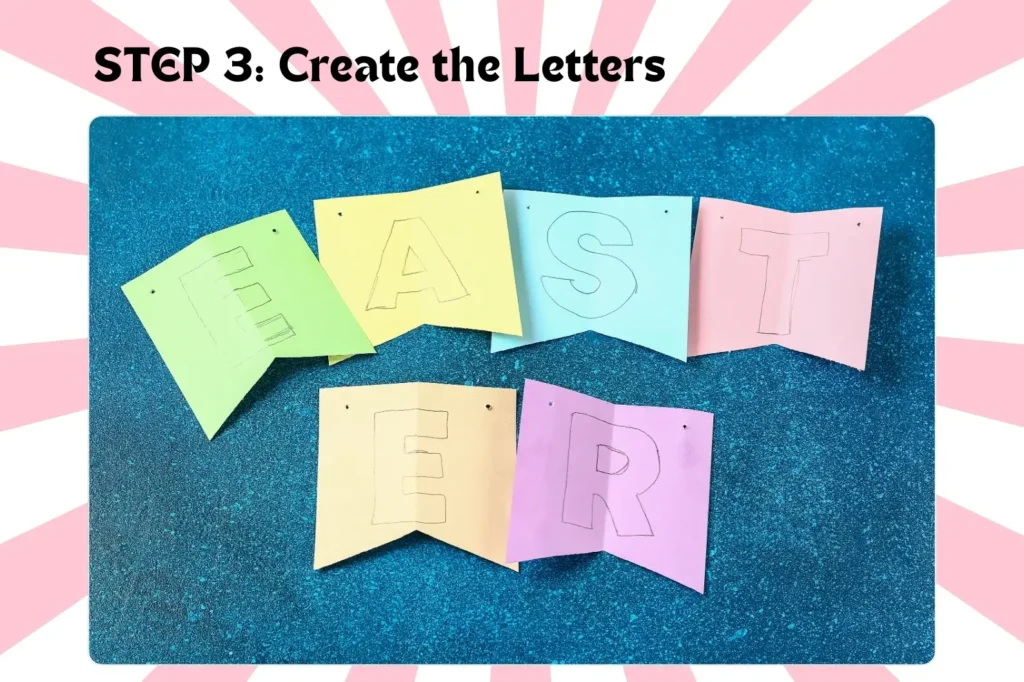
Step 3:
Create the Letters: Lightly sketch each letter of “EASTER” (one letter per flag) with a pencil.
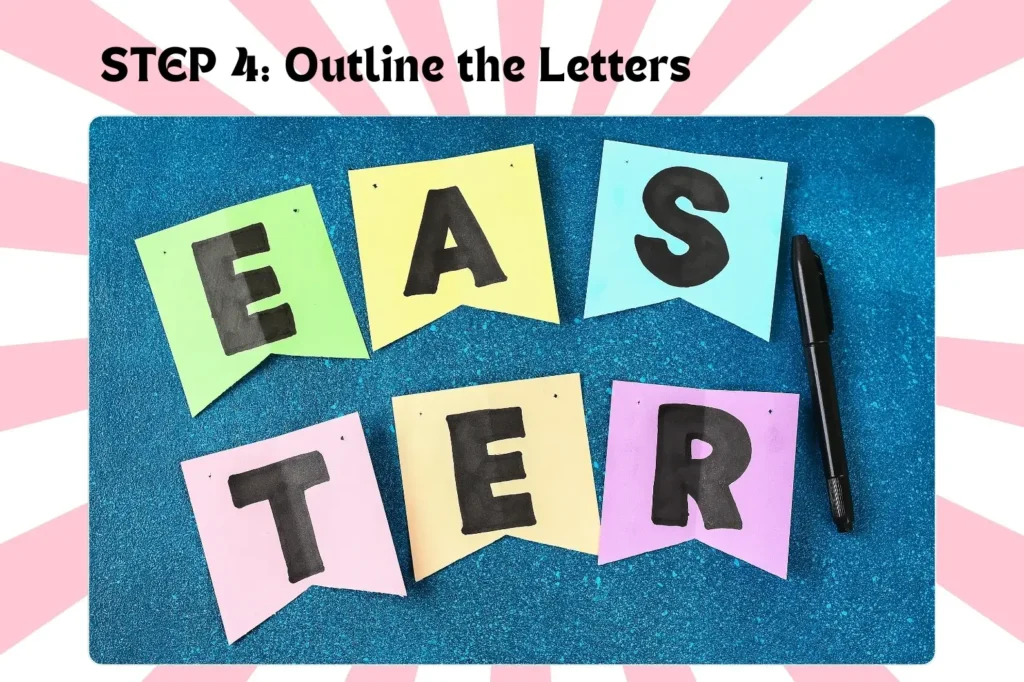
Step 4:
Outline the Letters: Then, outline using a black marker or attach printed cutout letters for a crisp finish.
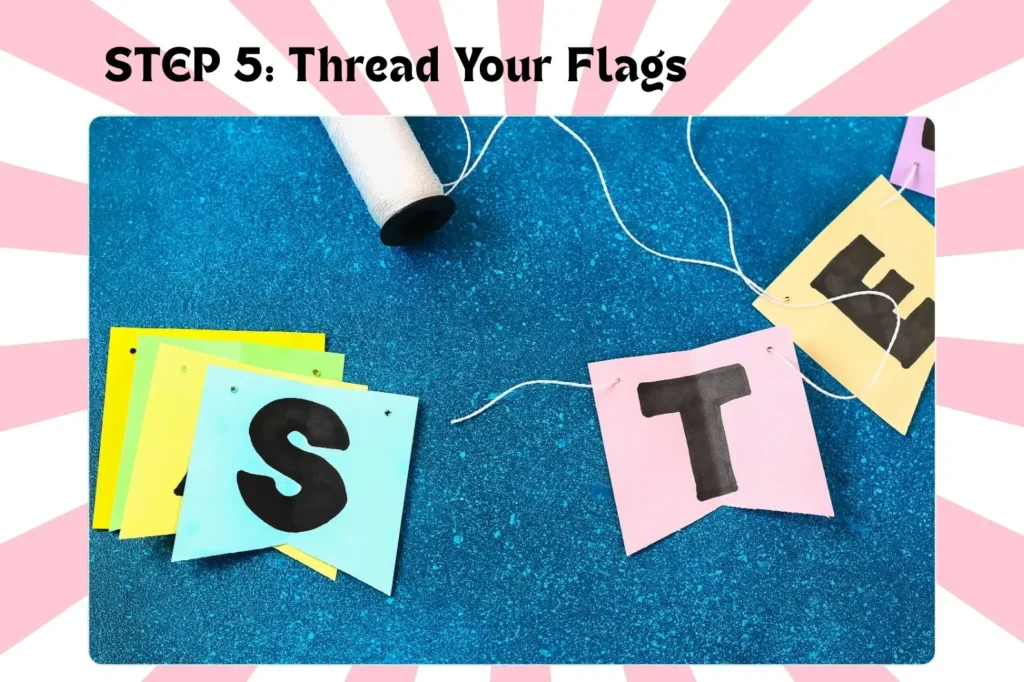
Step 5:
Thread Your Flags: String each banner flag onto your twine, ensuring the letters stay in order.
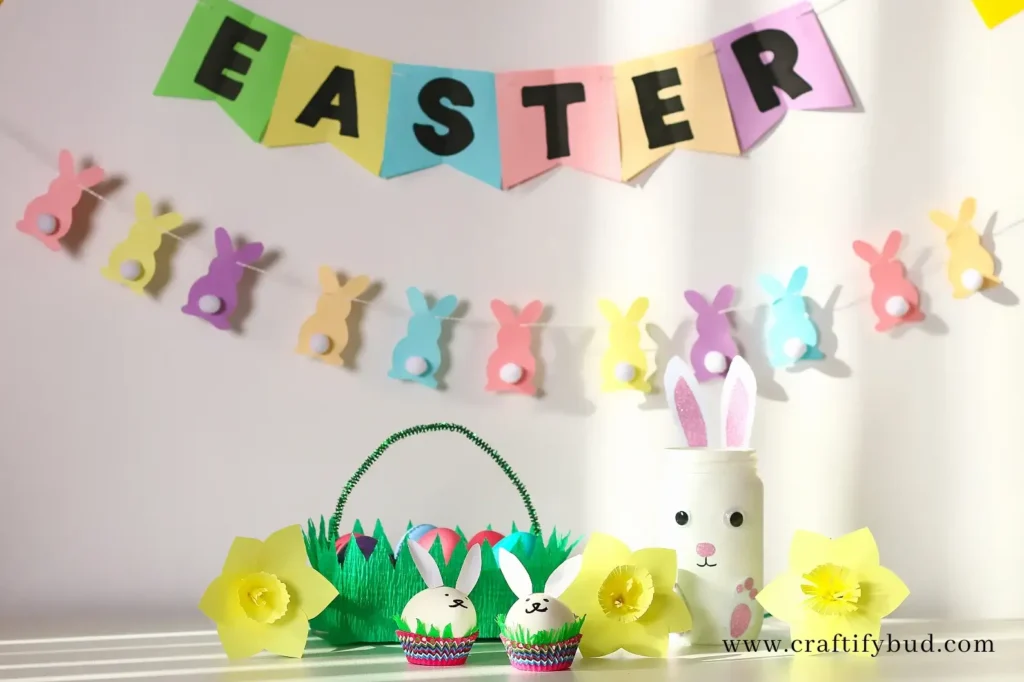
Step 6:
Display Proudly: Hang your banner as a backdrop for family photos, above your dessert table or in your child’s room to celebrate Easter.
🎁 Pro Tip:
Print our A-Z Letter Set in Banner Shape for endless possibilities—spell out names, greetings, or any word you’d like!
🌼 Tips to Make Your DIY Easter Garland Extra Special
If you’d like to elevate your garlands even further, try these ideas:
Go Metallic: Accent your garlands with gold or silver foil paper for a luxe touch.
Add Lights: String fairy lights through your garlands for a magical glow.
Use Natural Materials: Swap paper for burlap, felt or wood for a rustic, farmhouse look.
These small changes can make your handmade Easter decorations feel professionally crafted.
Time to Create!
Designing your own Easter garlands goes beyond decoration – it’s about creating memories.Whether you choose the whimsical Bunny Garland or the cheerful EASTER Banner, these will add joy and charm to your celebrations. If you want to make crafting even easier, check out our printables and craft kits on Craftifybud.com. Templates to pre-made supplies and everything else you need to run an enjoyable DIY experience.Happy crafting and have a colorful and fun Easter! 🐇🌸
Printables
Free World Cup Word Search Printable for Kids — 2026
Craft
World Cup Trophy Craft for Kids — Easy DIY Ideas (2026)
Printables
Free World Cup Bingo Cards Printable for Kids — 2026
Craft
Easy 4th of July Crafts for Kids — America’s 250th Birthday 2026
Art & Collections
Free 4th of July Coloring Pages for Kids — America’s 250th Birthday (Printable PDF 2026)
Printables
World Cup Team Jerseys Kids Can Design — Free Printable Template
Printables
World Cup 2026 Flag Printables for All 48 Teams (Free)
Craft
Easy Soccer Ball Craft for Kids — World Cup 2026
Art & Collections
Free FIFA World Cup 2026 Coloring Pages for Kids (Printable)
Printables
Free Printable Eid Al Adha Cards for Kids to Color & Give (Instant Download!)
Printables
20+ Free Eid Al Adha Printables (Cards, Decorations, Gift Tags & Kids Activities)
Printables
12 Free Printable Mother’s Day Cards 2026 — Download, Print & Give Her Something She’ll Actually Keep
Craft
15 Easy Mother’s Day Crafts for Kids to Make (2026)