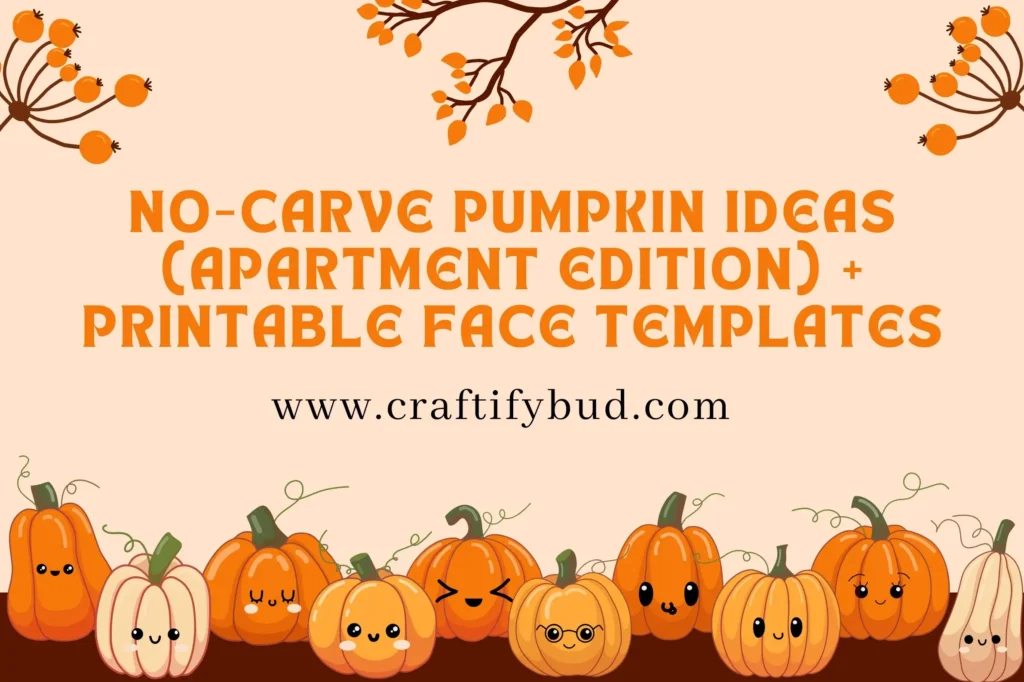
No Carve Pumpkin Ideas (Apartment Edition) + Printable Pumpkin Face Templates

I love pumpkins. I do not love scraping pumpkin guts out of my sink at 11:47 p.m. in a rental with a fussy building manager. If you’re in an apartment (tiny balcony, strict strata, smoke alarms that twitch at the word “candle”), these no carve pumpkin ideas are your friend. Print a face, stick it on, and boom—Halloween without the mess.
Why no carve pumpkin ideas wins in small spaces
- No knives around kids or curious cats.
- Zero orange strings in the drain (learned that the hard way last October).
- Fast to put up, faster to take down.
- Works on real pumpkins and faux ones you can stash till next year.
What you actually need:
You’ll need a printer (A4/Letter), our pumpkin face printables, and scissors. For adhesive, we love full-sheet sticker paper; painter’s tape/removable squares are gentle on surfaces. Optional tools: chalk marker for outlines, washi and ribbon/twine for trim, a thin magnet sheet for fridge fun, and a small warm LED for glow.
Idea 1 — Print-and-Stick Classics (10 minutes, tops)
- Print the face sheet you like: goofy, sleepy, grumpy, vampy.
- Cut the pieces while you binge one episode of something.
- Stick them on a dry pumpkin. Real or faux—both work.
- Add a bow tie (ribbon scrap) or eyelashes (two little triangles). Done.
Apartment trick: sticker paper is king. If you’re using tape, painter’s tape under the pieces makes clean removal painless.

Idea 2 — Fridge & Door Pumpkins (magnetic!)
For studio kitchens or metal entry doors.
- Scale the template to 60% before printing.
- Glue pieces to a thin magnet sheet; cut around them.
- Arrange on a mini faux pumpkin wrapped with a magnetic strip or just make the fridge a “pumpkin board.” Surprisingly adorable.

Idea 3 — Window Glow (silhouette, no candle)
- Trace the face onto black cardstock and cut it out.
- Tape to the inside of your window.
- Pop a warm LED puck on the sill behind your curtain. From the street, it reads like a glowing jack-o’-lantern. From your side, zero wax, zero heat.

Idea 4 — Chalk-Marker Pumpkins (reusable)
If you bought one nice faux pumpkin and want to keep it for years:
- Tape the printed template on lightly and trace around it with a white chalk marker.
- Fill in the face. Let it dry.
- Spritz with the tiniest bit of hairspray if you want it to resist smudges. Wipes off in November.

Idea 5 — Washi-Tape Faces (graphic & low-tack)
Cut triangles and half-moons from black washi tape. Build a face directly on the pumpkin. Outline with a fine white paint pen if you’re extra. Peel off with no drama.

Idea 6 — Fabric-Wrapped Pumpkins (soft, neutral)
- Spread a square of fabric (gingham, muslin, velvet—use what you have).
- Pumpkin in the middle; gather at the stem; tie with twine.
- Stick a mini paper face on top. It’s cottage-core Halloween and takes five minutes.

Idea 7 — Balloon Pumpkins (dorm-room friendly)
Orange balloons + mini face stickers. Put three in a basket at the entry. If one pops, the other two look like they’re gossiping about it. Kids love these.

Idea 8 — Paper-Bag Pumpkins (rainy-day craft)
Stuff a brown lunch bag with tissue, twist the top for a stem, and tie. Paint orange if you like. Glue on a printed face. Cheap, cute, recyclable.

Small-Space Styling (that actually works)
- Cluster of three on a narrow ledge: tall book → medium pumpkin → short tea-light lantern.
- Balcony: use faux pumpkins + battery lights only. Wind is a menace; add two dots of mounting putty under each pumpkin.
- Hall shelf: one large faux pumpkin, three swap-able faces in an envelope. Change the mood whenever.
Using the Printable Pumpkin Face Templates
- Sizes included: full-size faces for regular pumpkins + a mini sheet (6–8 faces) for small pumpkins and balloons.
- Printing:
- US Letter → “Fit to page” ON
- A4 → “Actual size / 100%”
- US Letter → “Fit to page” ON
- Stick: sticker paper = cleanest look. Otherwise, double-sided tape or mounting squares (removable).
- Finish: press with a soft cloth to smooth edges. If your place is humid, add a tiny extra tape tab at the corners.
- Real pumpkin note: wipe with a dry cloth first; moisture is the enemy of adhesives.

Safety (the boring bit that saves headaches)
- Use LED lights only—no real flames in small rentals.
- Scissors stay with adults. Tiny paper bits stay away from toddlers and pets.
- If you’re placing anything on a sill: test that it won’t budge when the window opens.
FAQ (short & honest)
Do the faces stick to real pumpkins?
Yes—if the skin is dry. Sticker paper grips best.
Will tape peel paint off my window frame?
Use painter’s tape under anything sticky. Test first on a hidden spot.
How do I make them last the whole month?
Faux pumpkins + sticker paper, or chalk-marker faces you can touch up in 10 seconds.
Grab the Templates
Want the pumpkin face templates in both A4 and US Letter, plus a mini sheet? I’ll bundle clean black versions for crisp cutting and a bonus “cute eyes” sheet for kids. Say “send the pack” and I’ll drop the printables. Kids love these no carve pumpkin ideas.

Leave Comment
Your email address will not be published


