

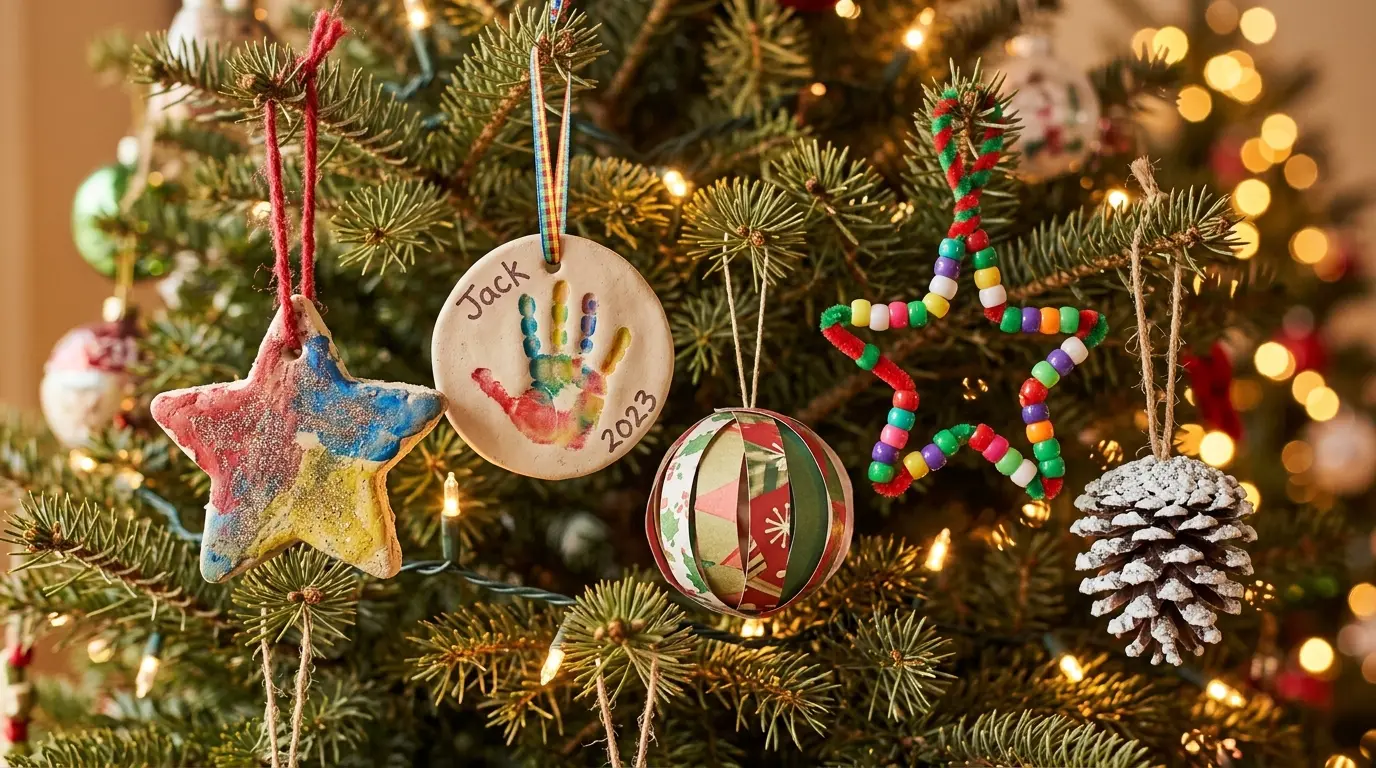
Every family tree seems to end up with one ornament that’s a bit lopsided, slightly sticky, and the first thing anyone points at. That’s the kind we’re after. These are Christmas ornaments for kids to make with what’s already in the house: flour, paper, pine cones, old cards. Fifteen of them, from toddler-proof to properly fiddly.
Each one has an age, a rough time and what you’ll need. The paper ones use our free templates (there’s a PDF further down, no email needed), and the salt dough and cinnamon ones come with full recipes.
One bit of advice before you start: write the name and year on the back of everything. You think you’ll remember. You won’t.
Paper Ornaments (with Free Templates)
Paper is where we’d start with most kids. It’s cheap, it dries instantly, and a wonky one still looks festive once it’s on a branch.
Color-In Paper Ornaments
Ages 3+ · 15 minutes · not messy
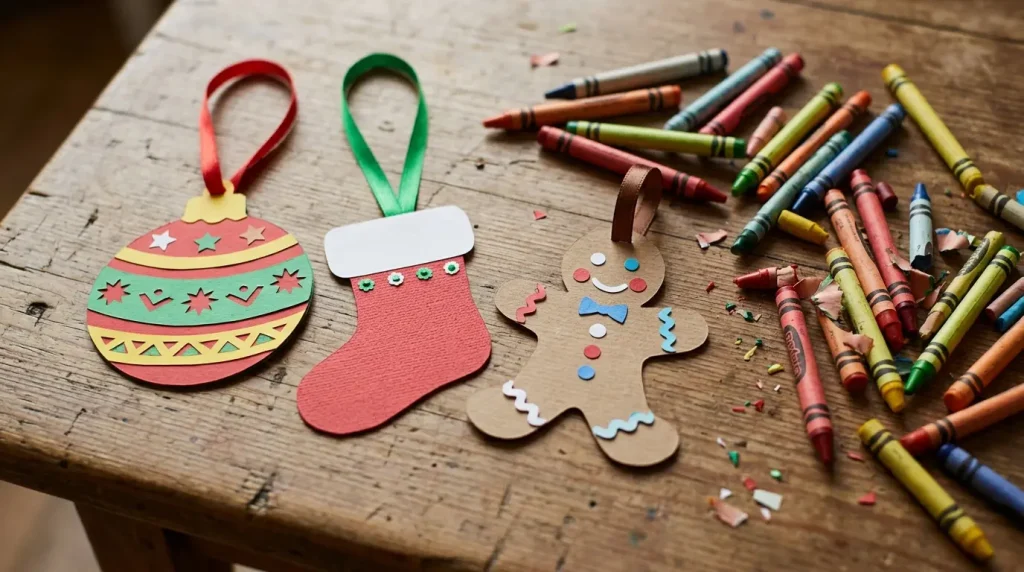
Print the ornament shapes from the PDF (a bauble, a star, a stocking, a tree and a gingerbread man), let the kids color them in, then cut them out. Punch a hole at the top and thread some ribbon through. Card stock makes them sturdier, and gluing a second shape to the back means they look good from both sides.
3D Paper Ball Ornament
Ages 6+ · 25 minutes · a little glue
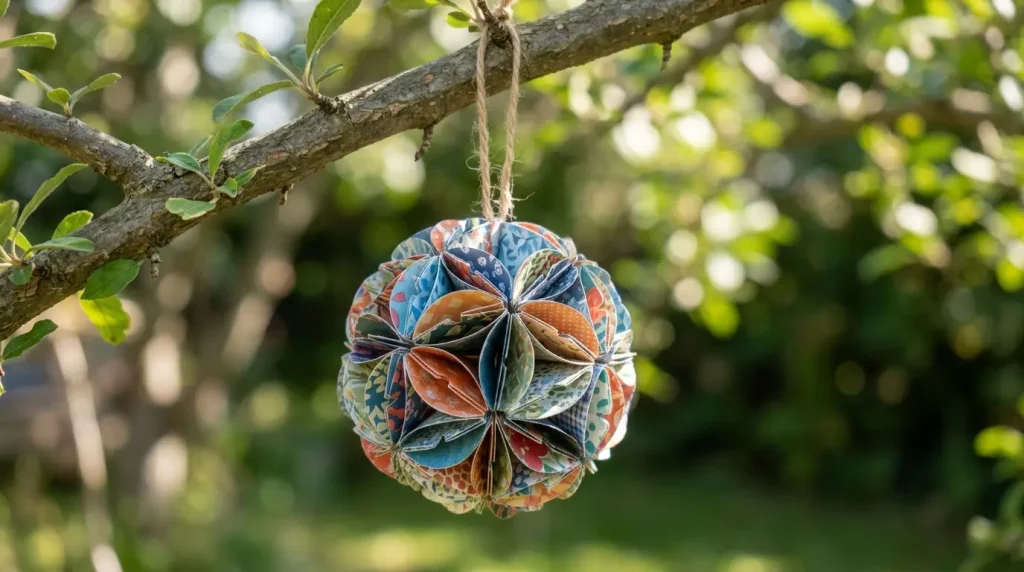
Cut out the eight circles from the template, ideally from wrapping paper or patterned card. Fold each one in half. Now glue the back of one half to the back of the next circle’s half, and keep going until all eight are joined in a fan. Before you glue the last one to the first, tuck a loop of ribbon into the middle. Open it out and it’s a ball.
It’s one of those crafts that looks harder than it is, which kids love.
Slot-Together Paper Star
Ages 5+ · 15 minutes · not messy
Two identical stars from the template, each with a short cut line marked on it. One gets cut from the top point down to the middle, the other from the bottom up to the middle. Slide them together and you’ve got a star that stands out from every side. Color them first, it’s much easier flat.
Photo Frame Ornament
Ages 4+ · 20 minutes · a little glue
Cut out the round frame from the PDF, decorate it, then tape a small photo behind the hole. School photos are perfect. Grandparents tend to get very attached to this one, so maybe make two.
Paper Rosette Ornament
Ages 6+ · 20 minutes · a little glue
Take a long strip of paper (about 2 inches by 11, or 5 cm by 28) and fold it back and forth like a fan. Fold the fan in half, glue the two inside edges together, then press the whole thing flat into a circle and glue the last edges. A button or sticker in the middle finishes it off.
Salt Dough and Clay Ornaments
These take longer because of the drying, but they last for years. A lot of grown-ups still have the salt dough star they made in first grade.

Salt Dough Ornaments
Ages 3+ · 30 minutes, plus baking · messy
You need 1 cup of plain flour, ½ cup of salt and about ½ cup of water. Mix the flour and salt, then add the water a bit at a time until it feels like play dough. Roll it out about ¼ inch (6 mm) thick and cut shapes with cookie cutters. Use a straw to poke a hole near the top of each one.
Bake at 250°F (120°C, or 100°C in a fan oven) for 2 to 3 hours until they’re hard all the way through. Thinner shapes need less time. You can air dry them instead, but it takes two or three days and you’ll need to flip them.
Once they’re cool, paint them. A coat of clear varnish or Mod Podge (a grown-up job) stops them going soft in a damp loft.
It isn’t food, though it looks like it. Keep it away from little ones and the dog, since it’s very salty.
Salt Dough Handprint Ornament
Ages 1+ with help · 15 minutes, plus baking · messy
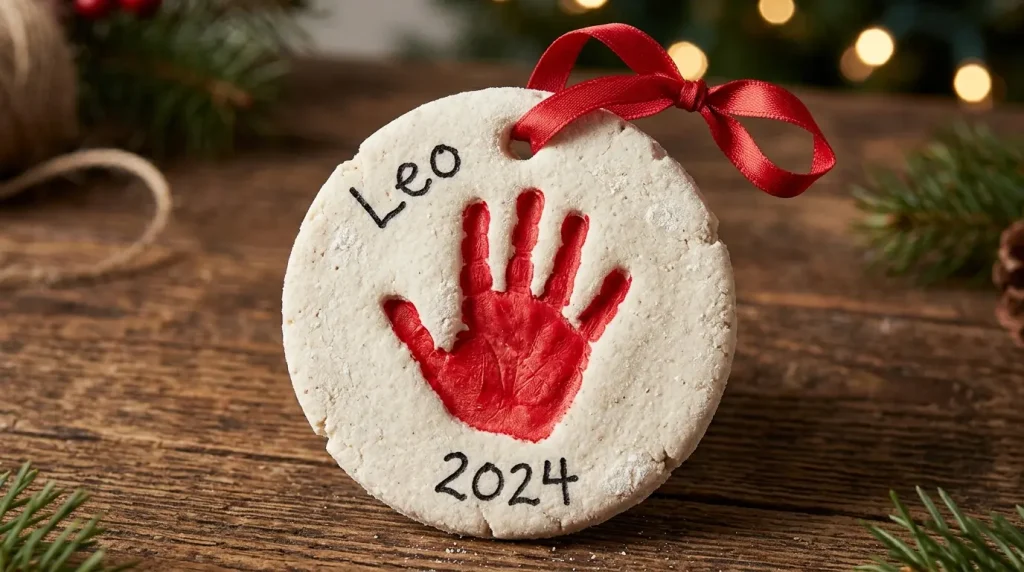
Same dough, rolled a little thicker. Cut a circle big enough for a hand, press the hand in firmly, and make the hanging hole. Bake as above. Paint just the handprint, or paint the circle and leave the print plain. Add the name and year with a fine marker.
This is the one that ends up on the tree for decades.
Cinnamon Ornaments
Ages 4+ · 30 minutes, plus drying · messy
Mix 1 cup of ground cinnamon with roughly ¾ cup of applesauce until it forms a stiff dough. A tablespoon of white school glue helps it hold together, but it’s optional. Roll it out between two sheets of baking paper, cut shapes, and make the hanging holes.
Bake at 200°F (95°C) for about 2 hours, turning them over halfway, or leave them to air dry for a few days. They come out dark brown and smell wonderful for weeks. They aren’t edible either, sadly.
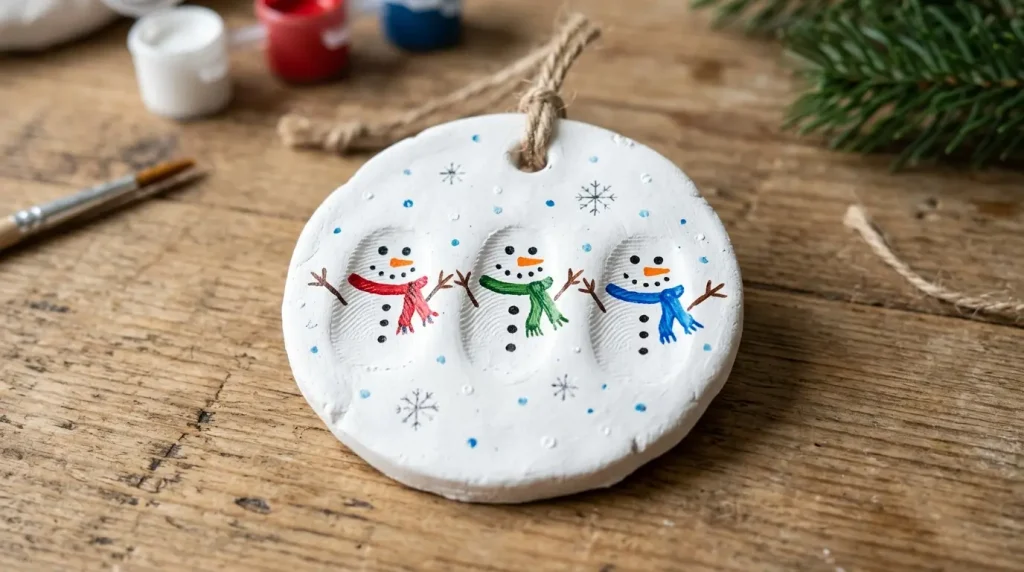
Air-Dry Clay Thumbprint Ornament
Ages 3+ · 15 minutes, plus drying · a bit messy
Roll a ball of white air-dry clay, flatten it into a circle, and make the hole for the ribbon. Kids press their thumb in two or three times. Once it’s dry (usually a day or two), the thumbprints become snowmen, reindeer or penguins with a few strokes of paint or marker.
Nature and Recycled Ornaments
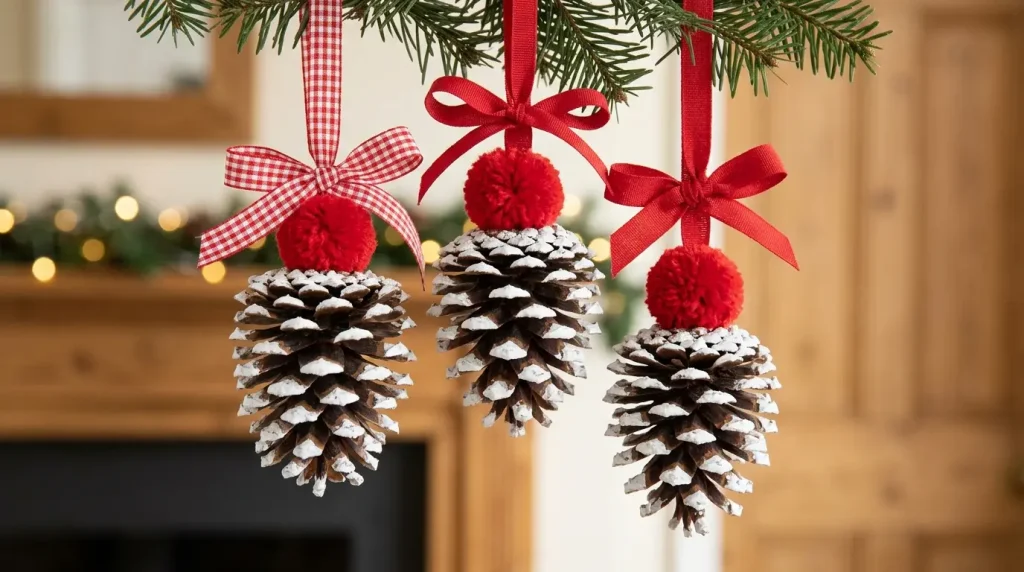
Snowy Pinecone Ornament
Ages 3+ · 15 minutes · a bit messy
Go on a pinecone hunt first, which is half the fun. Dab the tips with white paint so it looks like snow, glue a small pom-pom on top, and tie a ribbon round the top scales. Bake the pinecones at a low heat first (about 200°F, 95°C, for 30 minutes) if you’re worried about bugs coming indoors.
Twig Star
Ages 5+ · 20 minutes · a little glue
Find five straight twigs about the same length. Lay them in a star shape and glue the points where they cross. Wood glue works but takes ages; a grown-up with a hot glue gun is quicker. Wrap a bit of twine round each join and add a loop to hang it.
Old Christmas Card Ornaments
Ages 4+ · 15 minutes · not messy
Keep last year’s cards. Trace the bauble shape from the template onto the nicest bits, cut them out, and glue two back to back with a ribbon loop between them. It’s a nice way to keep the cards with the best pictures.
Bead and Button Ornaments
Great for fine motor skills. Not great near anyone under three, so keep these for the older kids.
Beaded Pipe Cleaner Star
Ages 5+ · 15 minutes · not messy
Thread pony beads onto three pipe cleaners, leaving a little bare at each end. Twist the three together in the middle so you get six arms, like a snowflake, then curl the ends so the beads can’t slide off. A loop of ribbon round one arm and it’s ready.
Button Christmas Tree
Ages 5+ · 20 minutes · a little glue
Cut a triangle from green card or felt, then glue buttons onto it, biggest at the bottom. A strip of brown card makes the trunk and a star sticker goes on top. Odd buttons from the sewing tin work best; they don’t need to match.
Christmas Ornaments for Toddlers to Make
Fill-a-Bauble Ornament
Ages 2+ · 10 minutes · not messy
Buy clear plastic fillable ornaments (not glass). Toddlers drop in pom-poms, scraps of tissue paper, curled ribbon or paper confetti, and you put the lid back on. That’s it. They’re proud of it, nothing is sticky, and it can’t break if it falls off the tree.
The color-in ornaments (number 1) and the handprint (number 7) work well for toddlers too, with you doing the cutting.
Tips for Making Ornaments With a Group
Making these with a class or a big family? A few things help. Salt dough can be made the day before and kept in a bag in the fridge. Do all the cutting out before the kids arrive. Put each child’s name on a sticky note under their work while it dries, because twenty drying ornaments all look alike. And paper ornaments are the easiest for a group, since they go home the same day.
We’re not sure which one will be the favorite in your house. Our guess is the handprint, since it’s the one people keep.
Free Christmas Ornament Templates (PDF)
The free PDF has everything the paper Christmas ornaments for kids to make above need: color-in ornament shapes, the eight circles for the 3D ball, the slot-together star, the photo frame and a bauble template for old cards. It prints on US Letter and A4.
More Christmas Crafts
- Christmas crafts for kids: 25 easy ideas with free templates
- Gingerbread house template, in paper or for baking
- Christmas printables for kids
- Winter crafts for kids
Christmas Ornament FAQs
What are easy Christmas ornaments for kids to make?
Color-in paper ornaments, salt dough shapes, a beaded pipe cleaner star or a snowy pinecone. All of them use things you’ll probably have at home.
How long do you bake salt dough ornaments?
At 250°F (120°C), usually 2 to 3 hours, until they’re hard right through. Thin ones need less.
How do you make cinnamon ornaments?
Mix 1 cup of ground cinnamon with about ¾ cup of applesauce, roll it out, cut shapes and bake at 200°F (95°C) for around 2 hours. Or air dry for a few days.
What ornaments can toddlers make?
Fill-a-bauble ornaments, handprint ornaments and color-in paper shapes. Skip anything with beads or buttons for under-3s.
How do you keep homemade ornaments from breaking?
Seal salt dough with varnish, wrap each ornament in tissue paper, and store them somewhere dry, not a damp garage or loft.


Leave a Reply