

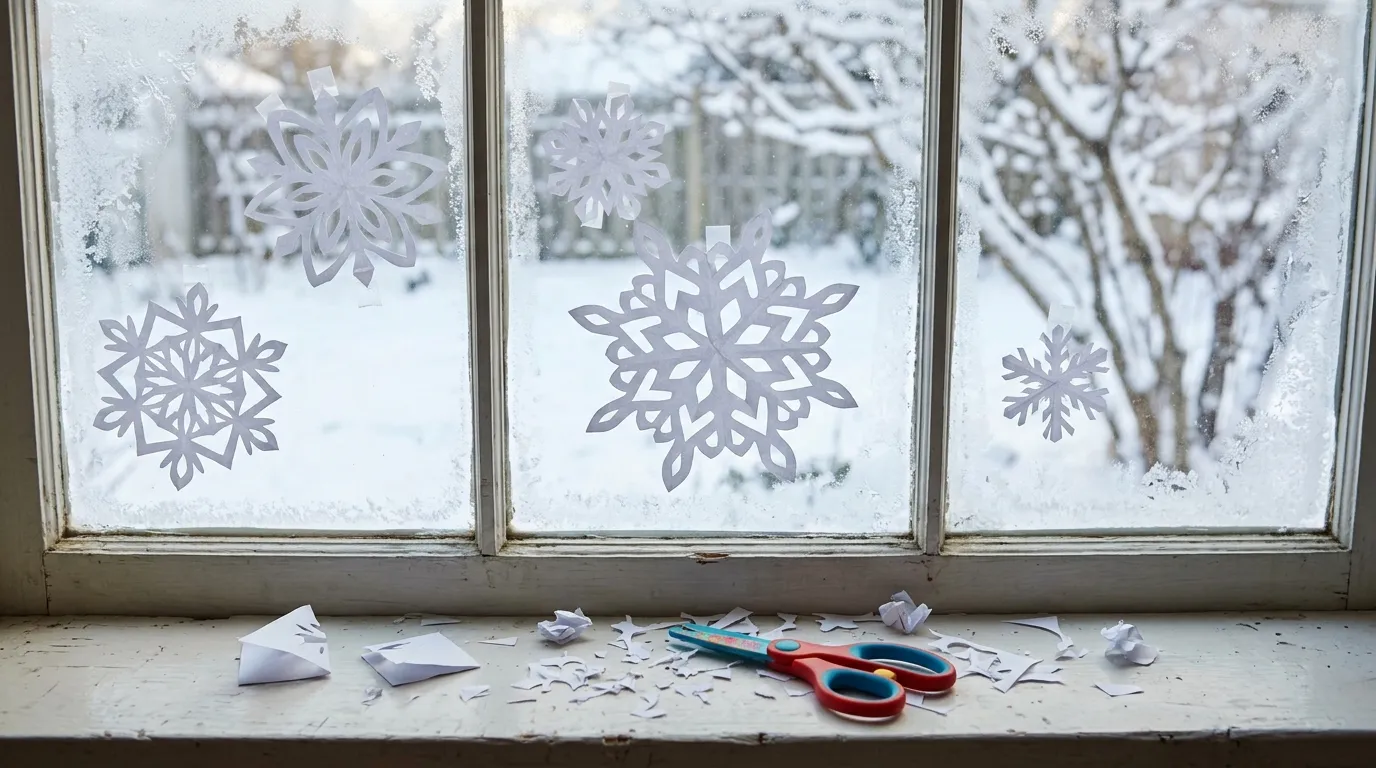
Every December our kitchen table disappears under tiny scraps of white paper. It happens the same way every year: someone remembers paper snowflakes, someone else finds the scissors, and an hour later the windows look like a blizzard hit them from the inside. It’s the cheapest decoration there is. Seriously. You’ll need paper, a pair of scissors and a bit of patience with the folding, and that’s really all.
The trouble is that the folding is where most kids give up, and tracing a pattern onto a folded wedge is fiddly even for grown-ups. So this paper snowflake template pack does it differently. Each design is printed on its own square, with the parts to cut already shaded gray. You cut out the square, fold it with the printed side out, and the pattern ends up right on top. There’s no tracing. No guessing which way up it goes either.
What’s in the Pack
| Part | Pages | What’s on them |
| How to fold | 1 | Six picture steps, from square to snowflake |
| Easy snowflakes (ages 4 to 6, with help) | 4 | Big, simple notches: Star, Scallop, Triangle and Diamond flakes |
| Medium snowflakes (ages 7 to 9) | 4 | More cuts and some holes: Fern, Lace, Crystal and Starburst flakes |
| Detailed snowflakes (ages 10 and up) | 4 | Fine, lacy cuts: Frost, Feather, Ice Palace and Winter Lace flakes |
| Design your own | 1 | A blank square with the circle and fold lines, for your own pattern |
| Mini snowflakes | 1 | Four small templates on one page, for a garland or gift tags |
How the Templates Work
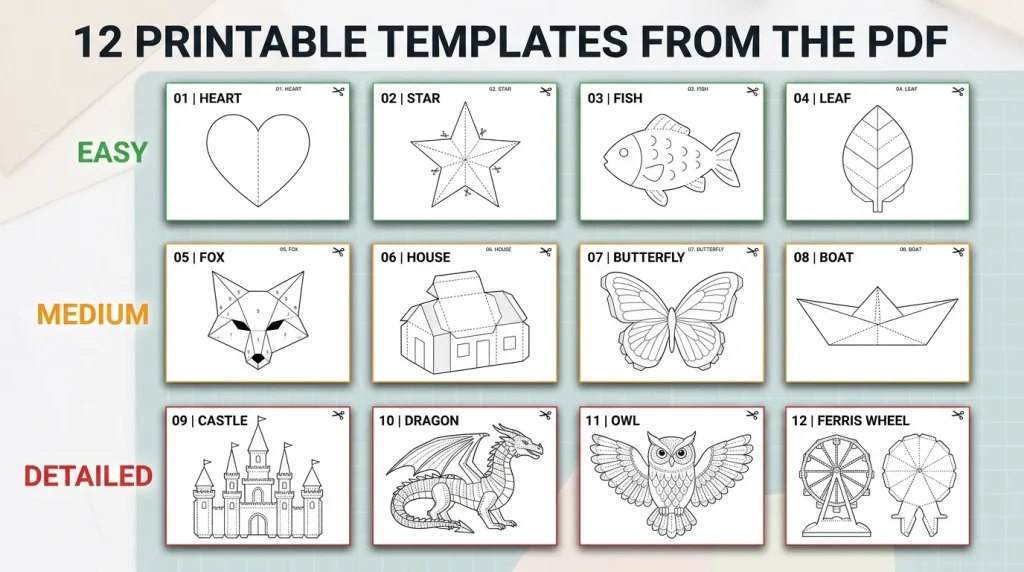
Every square shows the whole finished snowflake, so kids can see exactly what they’re making before they start, which helps a lot with the kind of child who wants to know how it ends before they’ll pick up the scissors. The white parts stay. The gray parts don’t. Because the design repeats twelve times around the middle, it doesn’t matter which section lands on top when you fold: whichever one it is, it’s the right one.
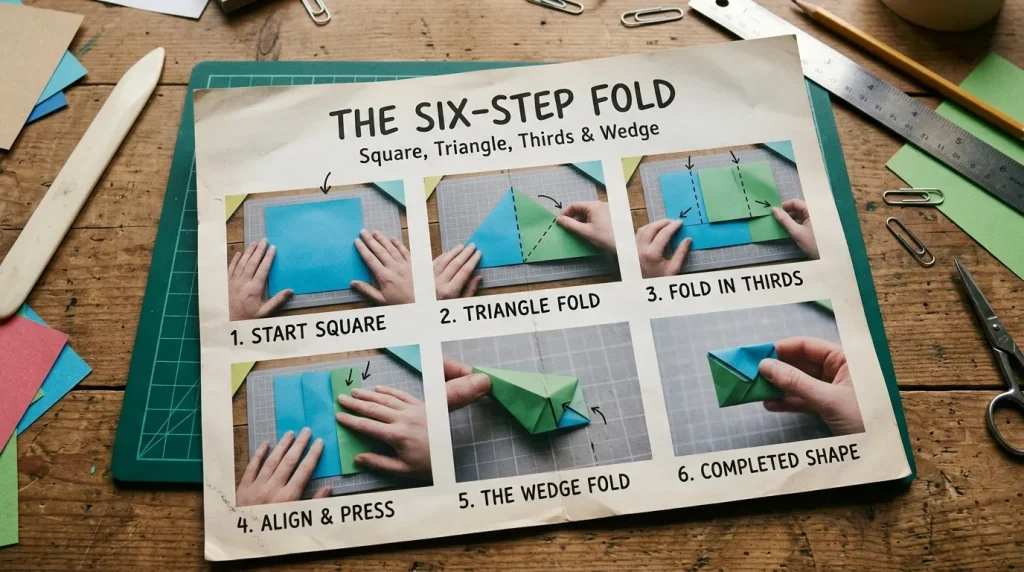
How to Make Paper Snowflakes
- Cut out the square along the solid line.
- Fold it corner to corner into a triangle, with the printed side on the outside.
- Find the middle of the long folded edge. That’s the center of your snowflake.
- Fold it into thirds from that center point, one side over the front and one behind, so the edges line up. It’ll look like an ice cream cone with a wobbly top.
- Fold it in half one more time, printed side out.
- Cut away the gray parts you can see on top, including the gray outside the curved line, then unfold slowly.
The thirds fold is the tricky one, and it takes most people two or three goes. That’s normal. Everyone’s first one looks like a squashed paper fan, and mine definitely did. If the edges don’t quite line up, the snowflake will still look lovely, I promise, and nobody’s going to inspect the angles on your kitchen window.
Easy Paper Snowflakes for Kids (Ages 4 to 6)
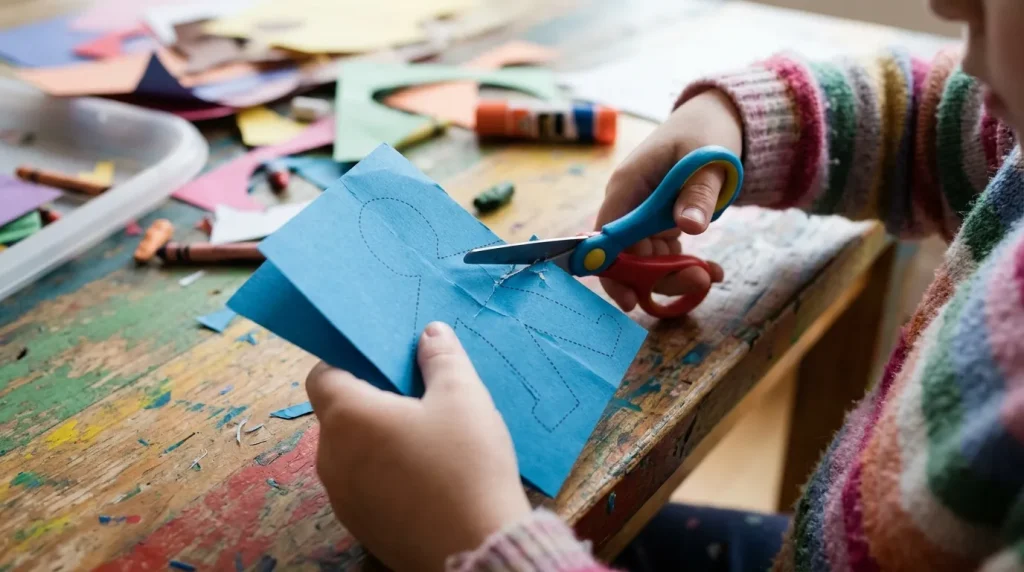
The easy templates have a few big shapes cut from the edges, like triangles and half circles, so there’s nothing small to fiddle with and nothing that’ll snap off if a cut goes a little wide. Simple as that. Little hands can manage most of the cutting with kid-safe scissors, though a grown-up will probably need to do the folding and maybe the first cut. Twelve layers of paper is a lot for small scissors. If your child’s struggling, fold it once less and you’ll get a simpler flake that’s much easier to cut.
Medium Snowflakes (Ages 7 to 9)
These add more notches. And holes. To cut a hole, pinch the paper so the gray spot bends, snip a tiny slit, and cut from there, a little at a time, turning the paper rather than the scissors. Kids this age usually love the moment they unfold one and the holes turn into a ring of little stars. It’s honestly a bit magic, and you’ll probably hear a gasp or two.
Detailed Snowflakes (Ages 10 and Up)
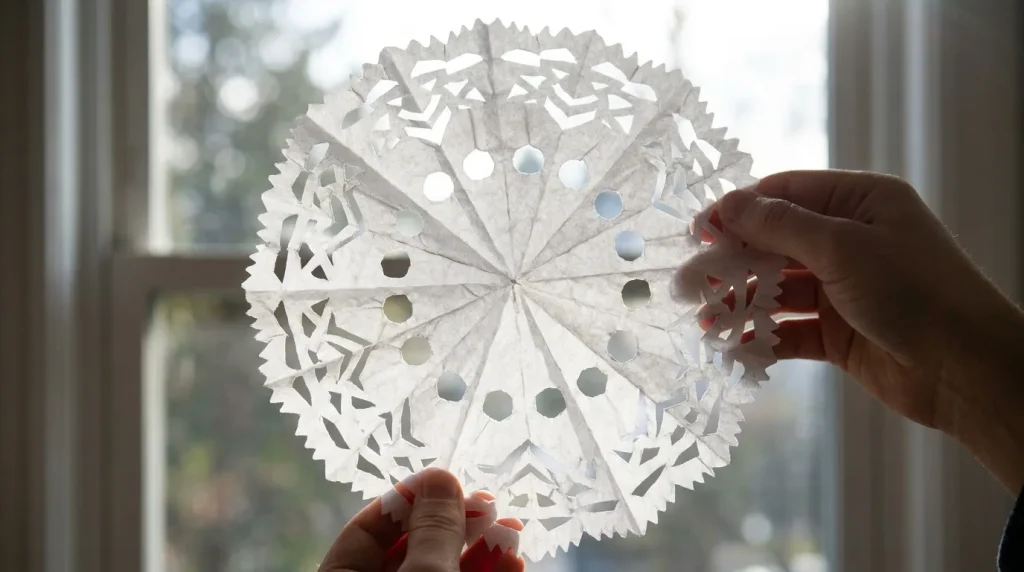
The detailed templates have thin, lacy cuts that look amazing on a window. They’ll need small, sharp scissors and steady hands, so they’re best for older kids, teens and grown-ups who’ve done a few easy ones first. Take your time, and don’t cut through the thin white bridges that hold the arms together, because if you do, the whole thing falls apart when you open it, and that’s a sad moment for everyone at the table.
Design Your Own
The blank template has the circle and the fold lines printed, but no pattern. Kids can draw their own shapes on one section, shade them in, then fold and cut. It’s a great way to learn how symmetry works without anyone noticing it’s a math lesson, which is my favorite kind of lesson. Draw a heart on the edge and you’ll get six hearts. Draw a dot in the middle and you’ll get twelve.
Ideas for Displaying Them
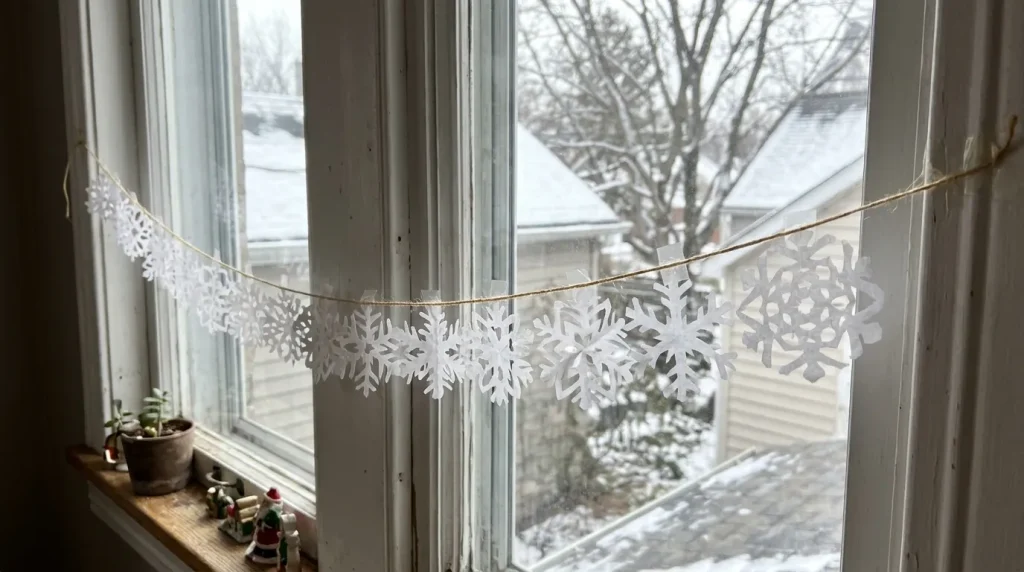
- Windows: a dab of glue stick in the middle of each flake holds it on glass and washes off with warm water.
- Garland: cut the mini snowflakes, then tape them along a piece of string or thin ribbon.
- Hanging flakes: punch a small hole near one tip and hang them from a curtain rod with thread.
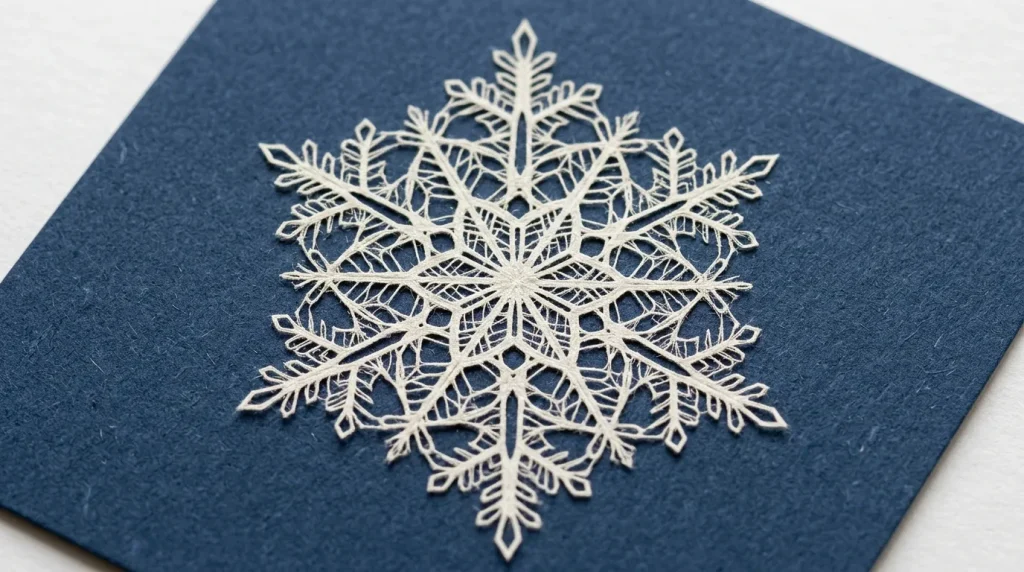
- Cards and tags: glue a mini snowflake onto colored card for a winter card or gift tag.
Tips for Better Snowflakes
- Use ordinary printer paper. Card stock’s too thick to fold twelve layers deep.
- Press each fold flat with a fingernail. Crisp folds make crisp snowflakes.
- Flatten finished snowflakes under a heavy book for an hour before you hang them.
- Don’t throw away the scraps. They’re perfect confetti, or snow for a winter picture.
Download the Free Paper Snowflake Templates
Download the Free Printable
⬇ Download PDF (Free)The free PDF has all 12 snowflake designs, the fold steps, the design-your-own template and the mini snowflakes. It prints in black and light gray on US Letter and A4, and each paper snowflake template fills its own page.
More Winter Printables
- Snowman coloring pages
- Christmas coloring pages
- Christmas crafts for kids
- Christmas activities for kids
- Christmas word search printables
FAQs
Is this paper snowflake template free?
Yes. All 12 designs, the fold steps and the extra templates are in one free PDF with no sign-up and no email form. Print as many copies as you need for home or a classroom. Please don’t sell them or upload the PDF to another site.
How do you fold paper for a snowflake?
Fold a square corner to corner into a triangle, then find the middle of the long folded edge. Fold the triangle into thirds from that point, then fold it in half once more. You’ll end up with a narrow wedge, and that’s what you cut. Page 2 of the PDF shows every step with a picture.
Why does my snowflake have eight points instead of six?
That usually happens when the paper’s folded in half three times instead of into thirds. Real snowflakes have six points, and to get six you need the thirds fold. It’s fiddly the first time, so line up the edges slowly and press the fold flat once they match.
What paper is best for paper snowflakes?
Plain printer paper works best because it’s thin enough to cut through twelve layers. Thin wrapping tissue or coffee filters work too, but they won’t print. Card stock and construction paper are usually too thick, especially for little scissors.
Can young kids make paper snowflakes?
Yes, with some help. Most four- to six-year-olds can cut the easy templates if a grown-up does the folding. If twelve layers is too thick for their scissors, skip the last fold, and the snowflake will still have six points with fewer layers to cut through.
How do you hang paper snowflakes on a window?
A small dab of glue stick in the center holds a paper snowflake on glass, and it washes off with warm, soapy water. Removable tape works too. For hanging snowflakes, punch a tiny hole near one point and use thread or fishing line.



Leave a Reply