

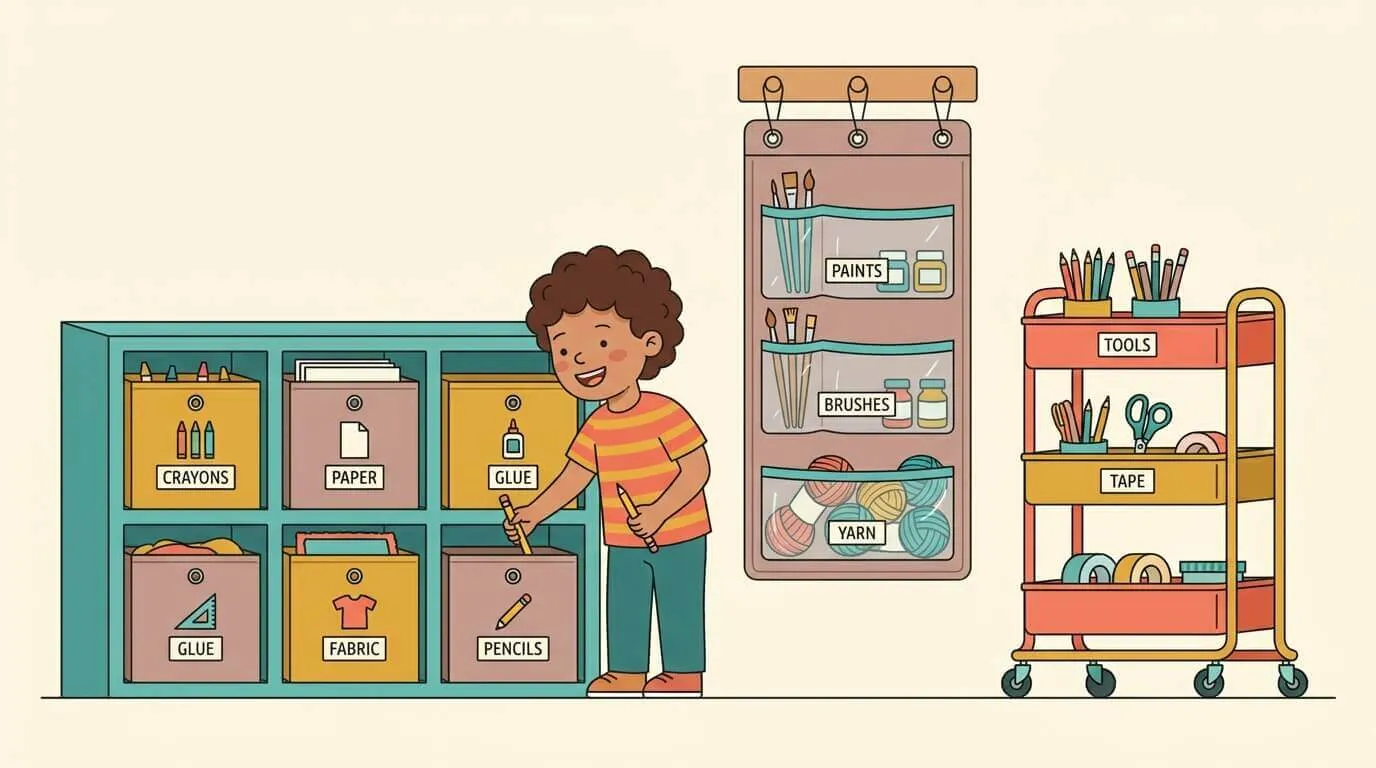
There is a specific moment every crafty family knows: you open the cupboard, and a landslide of half-dried markers, loose googly eyes and one rogue tub of glitter comes down on your foot. Craft supplies breed. If that’s your house, these kids craft room storage ideas are built for real life — cheap, reachable, and set up so the kids can actually find their stuff and put it back. That second part is the whole game. 🧺
Most storage guides online are secretly for adult crafters — yarn, ribbon, sewing thread. This one’s for the crayon-and-glue crowd: low shelves, wipeable bins, and a system a six-year-old can maintain without you hovering.
Start Here: Sort Before You Store
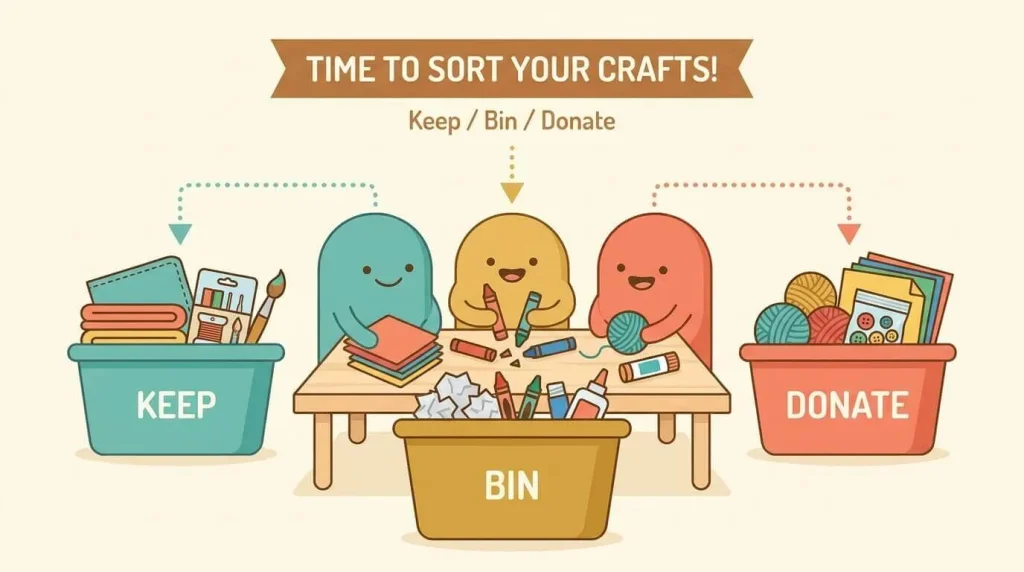
Don’t buy a single bin yet. First, tip everything out and sort into a few piles — the honest ones: keep, dried-up/bin, and “why do we have forty lolly sticks.” Half of craft clutter is just dead pens and dry glue. Chuck those first, and you’ll need far less storage than you think (and spend far less).
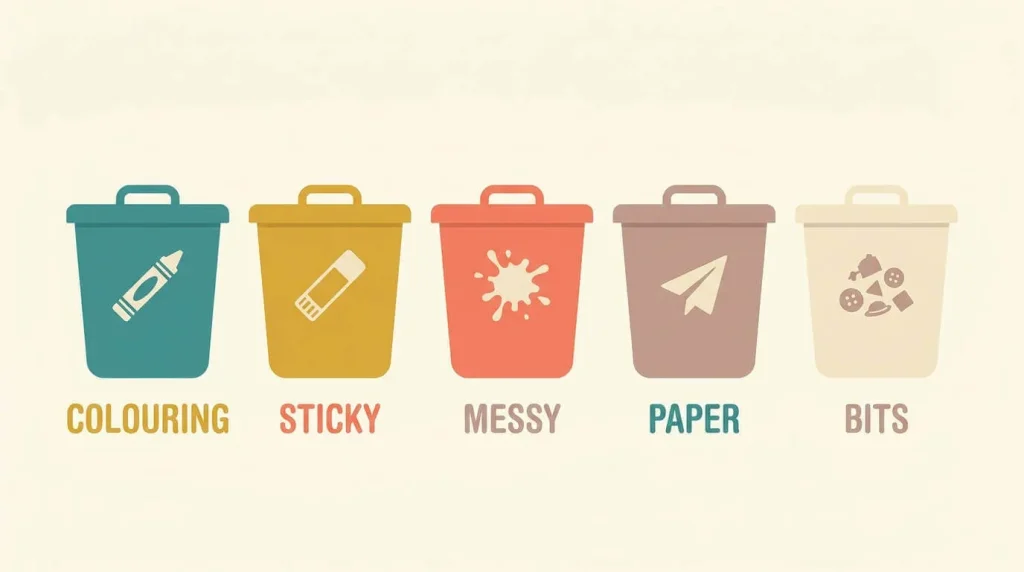
Then group what’s left by how kids actually reach for it: colouring (crayons, markers, pencils), sticky (glue, tape, stickers), messy (paint, playdough), paper, and “bits” (pom-poms, pipe cleaners, googly eyes). Those groups become your bins.
Organise by Supply, Not by Aesthetic
Pretty matching jars look lovely on Pinterest and last about a week in a real kids’ room. Organise by use instead: one clearly labelled bin per group above. When every marker lives in the “colouring” bin, a child can fetch it and return it without asking you where anything goes — which is the difference between a system that survives and one that doesn’t.
Keep the everyday groups (colouring, paper) at kid height, and the messy or supervised ones (paint, glitter, sharp scissors) up high where you control access. Simple, and it saves a lot of “who got the glitter out” conversations.
The Best Budget Storage (What to Actually Buy)
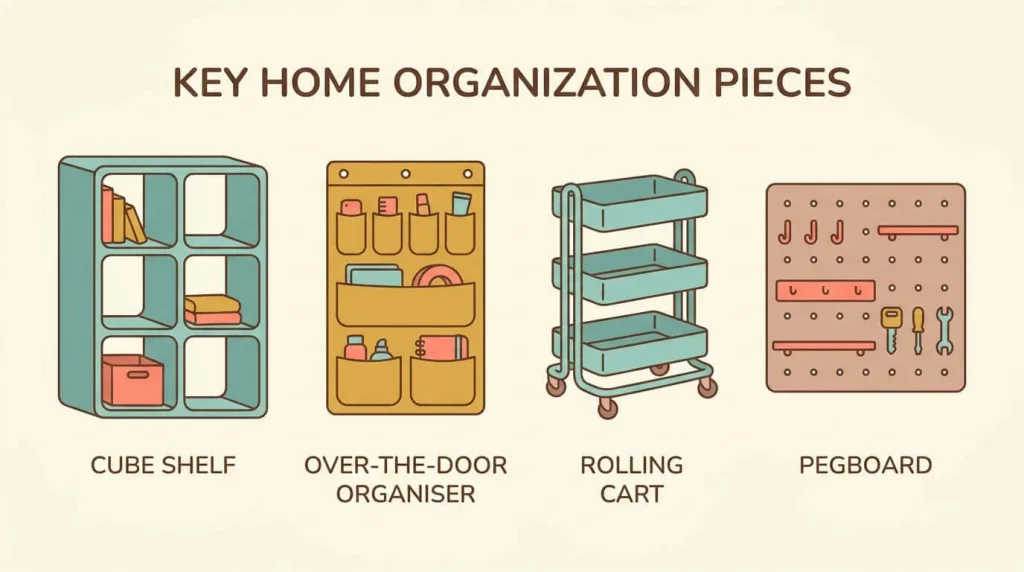
You don’t need a fancy craft-room fit-out. A handful of cheap, flexible pieces covers almost everything:
- A cube shelf unit with fabric bins — the workhorse. Low to the ground, one bin per supply group, and it doubles as a room divider. The single most useful buy.
- An over-the-door shoe organiser — those clear pockets are perfect for markers, glue sticks, safety scissors and paint bottles, all visible and off the floor. Cheapest big win in the room.
- A rolling cart — the famous three-tier trolley. Load it with the current project and wheel it to the table, then back to the wall. Brilliant for small spaces with no dedicated room.
- A low pegboard hung at kid height — hang scissors, ribbon spools and little baskets. Kids love pegging things back.
- Clear labelled bins — clear so they can see in, labelled so it goes back right.
Buy these gradually, second-hand where you can. A cube unit and an over-the-door organiser alone will transform most spaces for very little
Dollar-Store & Repurposed (Practically Free)
Before you spend anything, shop your own recycling:
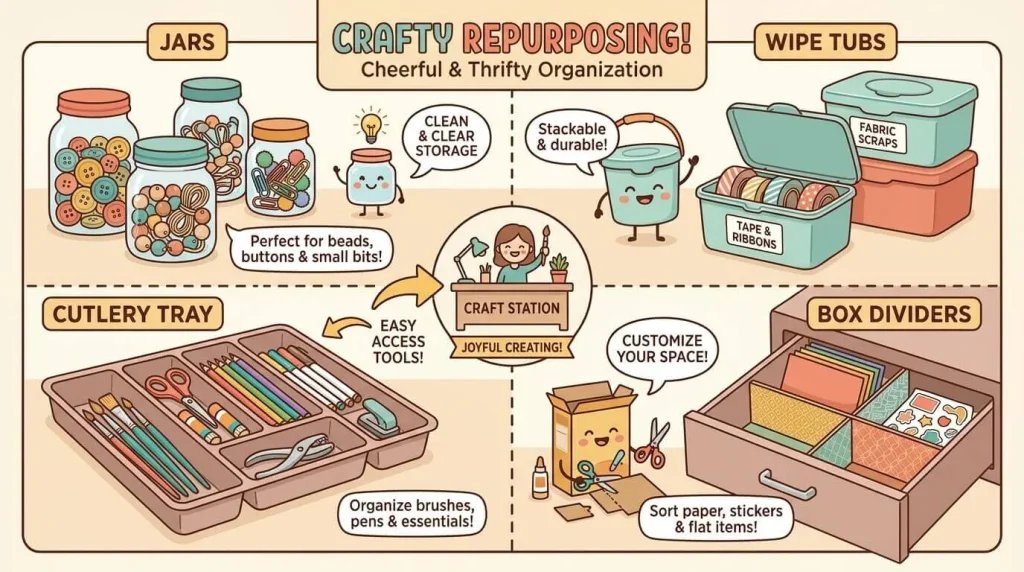
- Baby-wipe tubs and takeaway containers — perfect wipeable homes for playdough, beads and paint pots.
- Jars for collections kids love to see: buttons, pom-poms, sequins (keep glass jars up high; use plastic down low).
- A cutlery tray in a drawer instantly sorts pens, scissors and glue.
- Cereal boxes cut down and covered make free drawer dividers or magazine-style paper holders.
- A hanging shoe organiser (yes, again — it’s that good) from the dollar store.
Ask family to save tins and jars for you; the supplies pile up for free surprisingly fast.
The Bit That Actually Matters: Getting Kids to Tidy Up
Storage only works if it gets used. Three things make the difference:
- Picture labels. For pre-readers, tape a photo or drawing of what’s inside on each bin. Suddenly a four-year-old knows exactly where the pom-poms live. This one change does more than any expensive shelf.
- One bin per category, and not too many. Fewer, clearer bins beat a dozen fiddly ones. If tidying is simple, it happens.
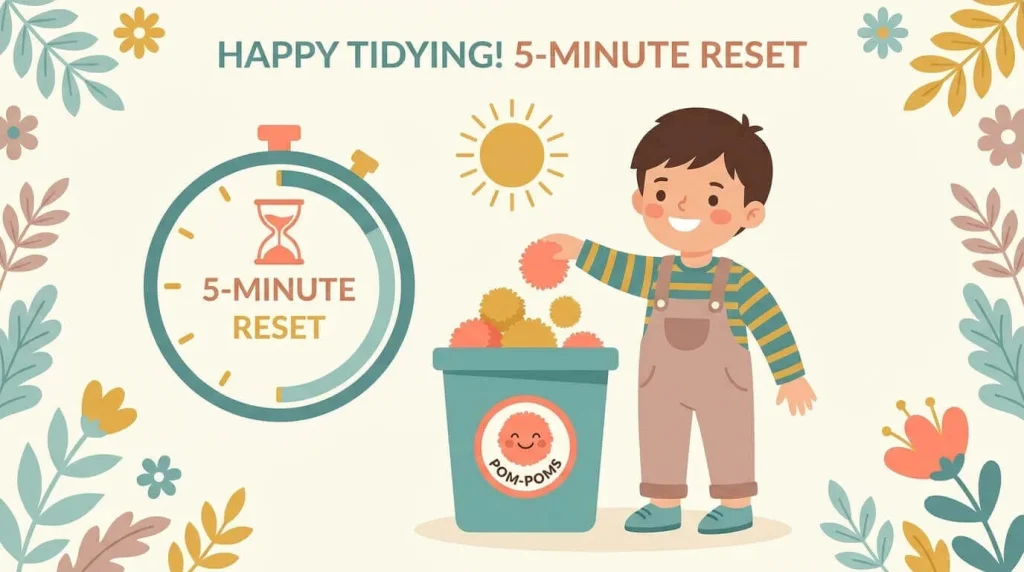
- A 5-minute reset. End every craft session with a quick “everything back in its bin” before the next thing. Set a timer, make it a race. It stops the landslide from ever rebuilding.
Honest truth: my kids will never keep it perfect, and I’ve made peace with that. The goal is “findable and mostly away,” not a magazine shoot.
My Actual Setup (Small Space, Small Budget)
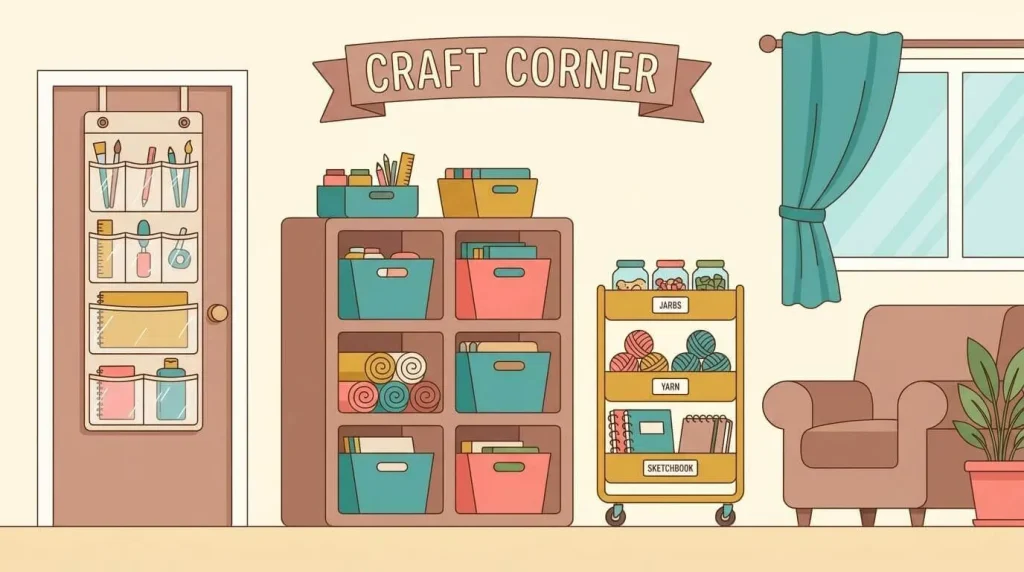
We don’t have a craft room — we have a corner. It’s a second-hand cube shelf with five labelled fabric bins (colouring, paper, sticky, bits, messy), an over-the-door organiser on the cupboard for the daily stuff, and a rolling cart that lives by the table during projects and rolls back to the wall after. Total spend was under the price of one “real” craft-storage tower, most of it second-hand. If you print a lot too, keep your paper and card in one flat bin near the printer — here’s our note on the best cardstock and paper for printables.
A Few Honest Tips
- Label everything — pictures for little kids, words for older ones. It’s the cheapest upgrade and the most effective.
- Go vertical. Walls and doors are free real estate; get supplies off the floor and off the table.
- Don’t over-buy bins. Sort first, buy second. You’ll need less than you think.
Frequently Asked Questions
What are the best kids craft room storage ideas on a small budget?
Start with a cube shelf and fabric bins plus an over-the-door organiser — together they’re cheap, reachable and cover most supplies. Add dollar-store tubs and jars for the small bits, and picture labels so kids can tidy themselves.
How do I organise kids’ craft supplies so they stay tidy?
Sort by use (colouring, sticky, messy, paper, bits), one labelled bin per group, everyday things at kid height and messy things up high. Add a 5-minute reset after each session.
How do I store craft supplies cheaply without buying anything?
Repurpose what you have — baby-wipe tubs, jars, cutlery trays and cut-down cereal boxes. A hanging shoe organiser is the best low-cost catch-all.
How do I get my kids to actually put things away?
Picture labels are the magic trick — a photo of what’s inside each bin means even pre-readers know where things go. Keep bins few and simple, and make the tidy-up a timed game.
Where should messy supplies like paint and glitter go?
Up high, out of easy reach, so they only come out with you. Keep the everyday, low-mess supplies down low where kids can help themselves.



Leave a Reply